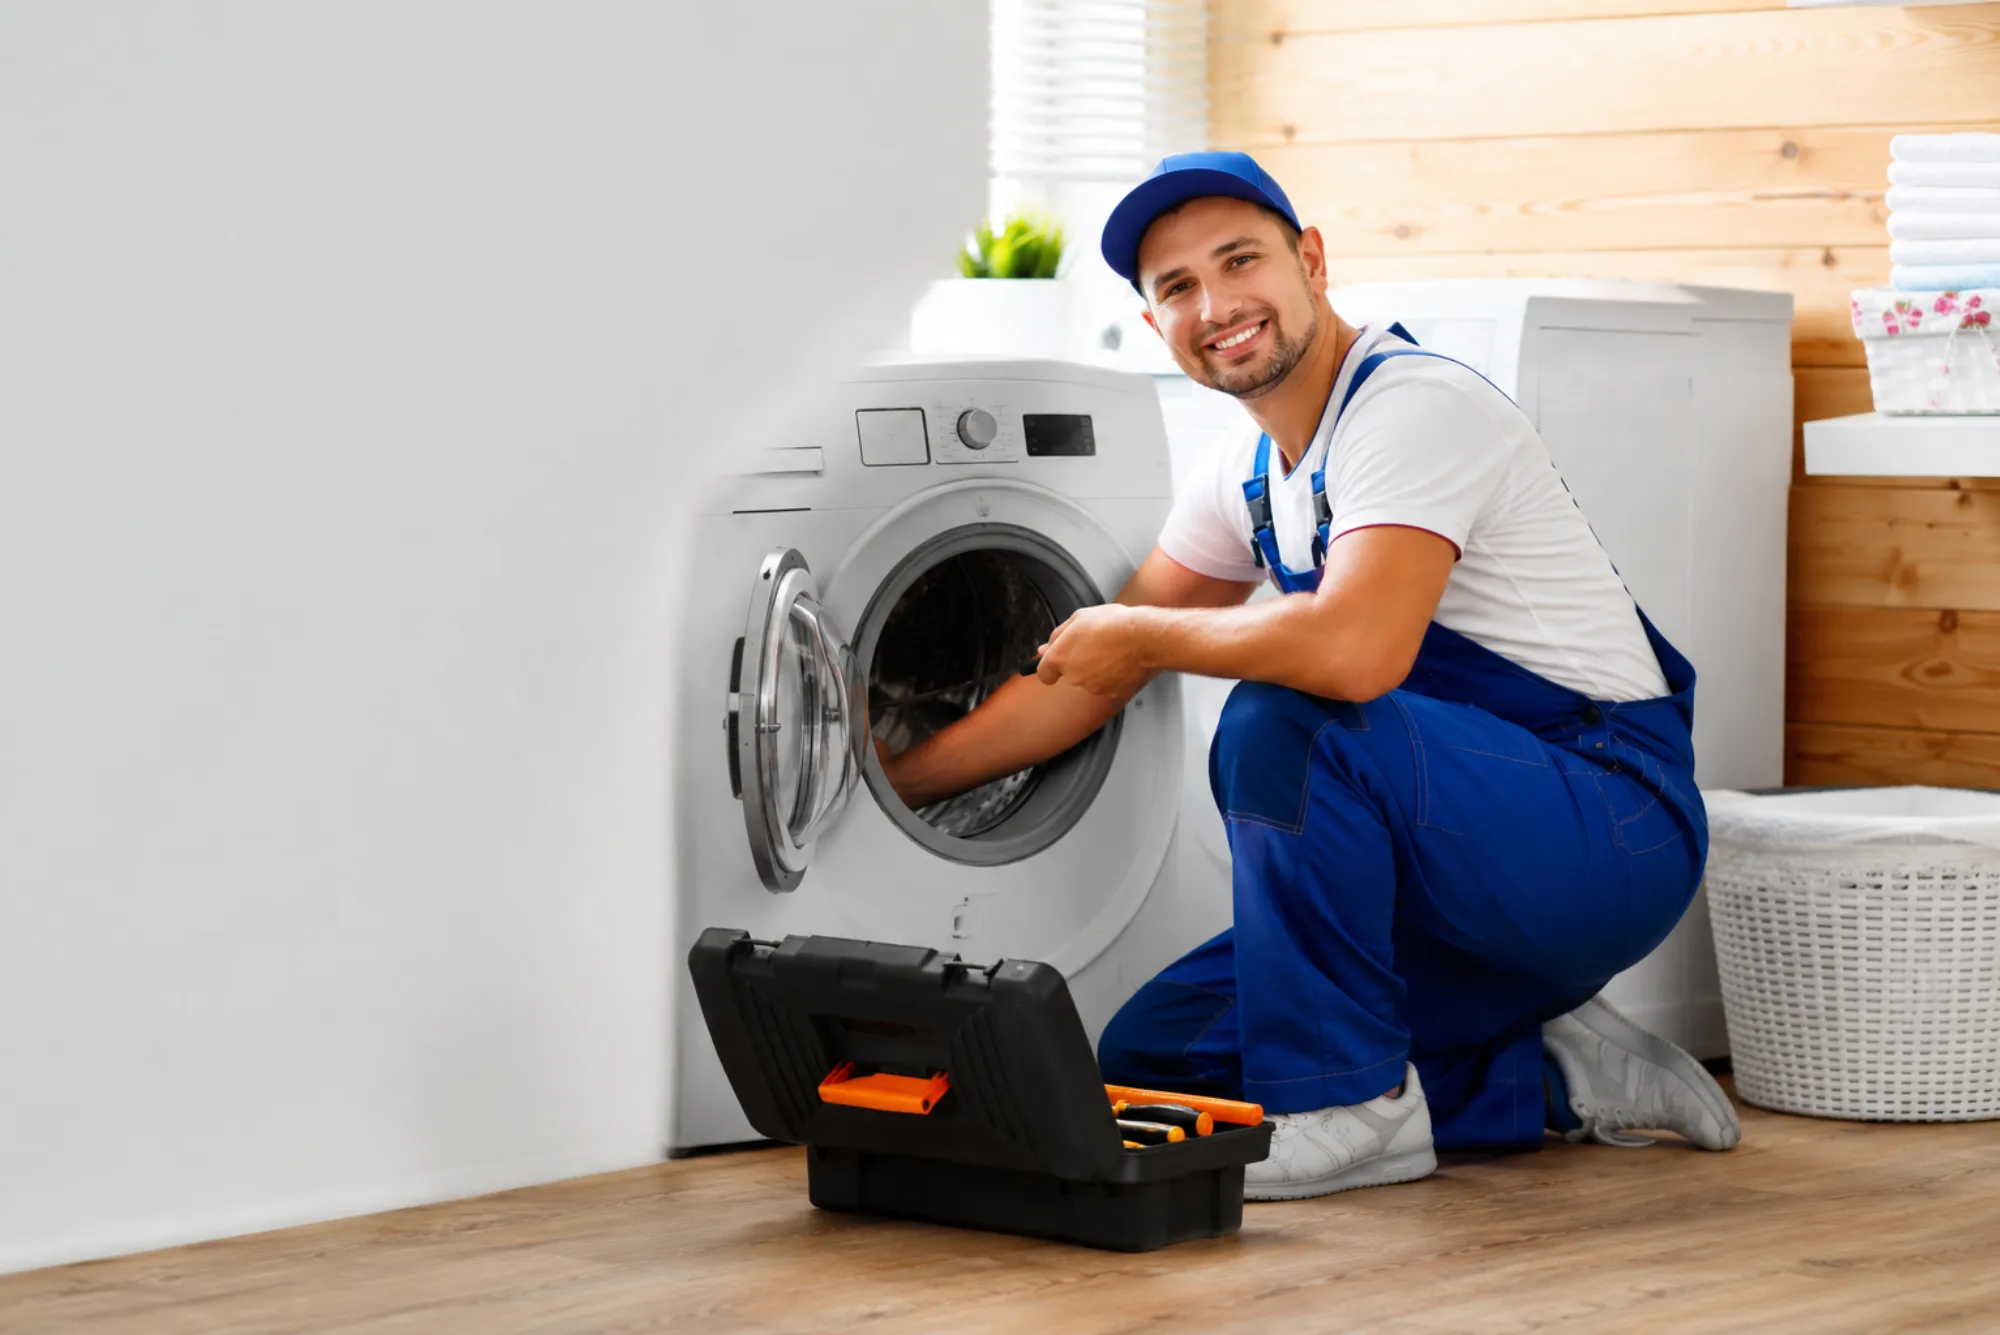
Stoves are essential appliances in every home, and their performance directly affects the efficiency of a kitchen. Over time, stoves can develop issues such as faulty wiring, broken heating elements, or malfunctioning control components, which necessitate a professional stove repair service. One of the most important steps in diagnosing and repairing stove problems is stove rear panel removal. Accessing the internal components through the rear panel is crucial for proper maintenance and repair, as it allows technicians or DIY enthusiasts to reach vital parts safely.
Removing the rear panel of a stove may sound simple, but it requires careful attention to avoid damaging the appliance or causing personal injury. Understanding the correct procedure, using the appropriate tools, and following safety precautions ensures that the repair process is both efficient and safe. This guide provides an in-depth look at the steps involved in stove rear panel removal, common challenges, and tips for effective stove maintenance.
Understanding the Importance of Stove Rear Panel Removal
The rear panel of a stove serves as a protective barrier for essential components such as wiring, control boards, and heating elements. Removing this panel is often the first step in troubleshooting or repairing the appliance. Accessing the internal parts allows technicians to replace damaged components, inspect for wear and tear, and prevent further damage to the stove. Without proper removal of the rear panel, repairs may be ineffective, and attempting to fix issues without access can increase the risk of injury or appliance malfunction.
Stove rear panel removal is also important for preventive maintenance. By regularly inspecting internal components, homeowners can identify potential problems before they escalate into major issues. This proactive approach not only extends the lifespan of the stove but also ensures that it operates safely and efficiently.
Preparing for Stove Rear Panel Removal
Before attempting to remove the rear panel, it is crucial to ensure that the stove is completely safe to work on. The first step is to disconnect the stove from its power source. For electric stoves, this means unplugging the appliance or switching off the corresponding circuit breaker. For gas stoves, it involves turning off the gas supply to prevent leaks or accidental ignition. Safety precautions also include allowing the stove to cool if it has been recently used, as attempting repairs on a hot appliance can lead to burns or other injuries.
In addition to disconnecting the stove, creating a clean and spacious work area is important. Moving the stove away from the wall provides sufficient room to work comfortably and reduces the risk of accidental damage to surrounding surfaces. Protective gloves and safety glasses should be worn to prevent cuts from sharp edges or sparks when handling components. Taking photographs or labeling wires during disassembly can also be extremely helpful, ensuring that all parts are reconnected correctly after the repair is completed.
Step-by-Step Procedure for Stove Rear Panel Removal
The process of stove rear panel removal begins with careful preparation. Once the stove is safely disconnected and positioned away from the wall, the screws or bolts holding the rear panel in place must be located. These fasteners are typically positioned around the perimeter of the panel. Using the correct screwdriver or wrench, each screw or bolt should be removed carefully, keeping them in a safe place for reassembly.
After the fasteners are removed, the rear panel can be gently detached from the stove. Many panels are secured with clips or tabs in addition to screws, so gentle prying may be necessary to release them. It is important to avoid applying excessive force, as this can bend or damage the panel. With the panel removed, internal components such as wires, control boards, and heating elements are exposed, providing full access for inspection and repair.
Once the panel is off, a thorough examination of the internal components is recommended. Inspecting for signs of wear, burnt wires, or loose connections allows for accurate diagnosis of stove problems. Repairing or replacing damaged components at this stage ensures that the appliance will function reliably after reassembly. After completing the necessary repairs, the rear panel should be realigned carefully, and all screws or bolts should be reinserted securely to restore the stove’s protective barrier.
Finally, the stove should be reconnected to the power source or gas supply, and its functionality tested. Ensuring that all burners, heating elements, and controls operate correctly confirms the success of the repair and proper execution of the stove rear panel removal process.
Common Challenges in Stove Rear Panel Removal
Despite proper preparation, stove rear panel removal can present challenges that require attention. Some screws or bolts may be stripped or difficult to remove, complicating the process. Tight clips or tabs may also require careful maneuvering to avoid breakage. In some stove models, wires and components are tightly packed, making disassembly more intricate. Heavy panels may require assistance to lift safely, especially for larger appliances.
Awareness of these potential obstacles helps in planning the repair process and ensures that the stove is not damaged during disassembly. Taking a cautious and methodical approach minimizes risk and allows for effective repairs.
Tips for Maintaining Your Stove After Rear Panel Removal
Removing the rear panel provides an excellent opportunity for routine stove maintenance. Keeping the internal components clean from dust and debris is essential for optimal performance. Inspecting wiring connections and control boards ensures that there are no loose or damaged parts that could lead to appliance malfunction. Periodic maintenance prevents small issues from developing into major problems, extending the lifespan of the stove.
It is also important to know the limits of DIY repairs. Complex electrical or gas-related issues may require professional stove repair service to ensure safety and prevent further damage. Proper documentation of any repairs or part replacements provides valuable information for future maintenance and professional interventions.
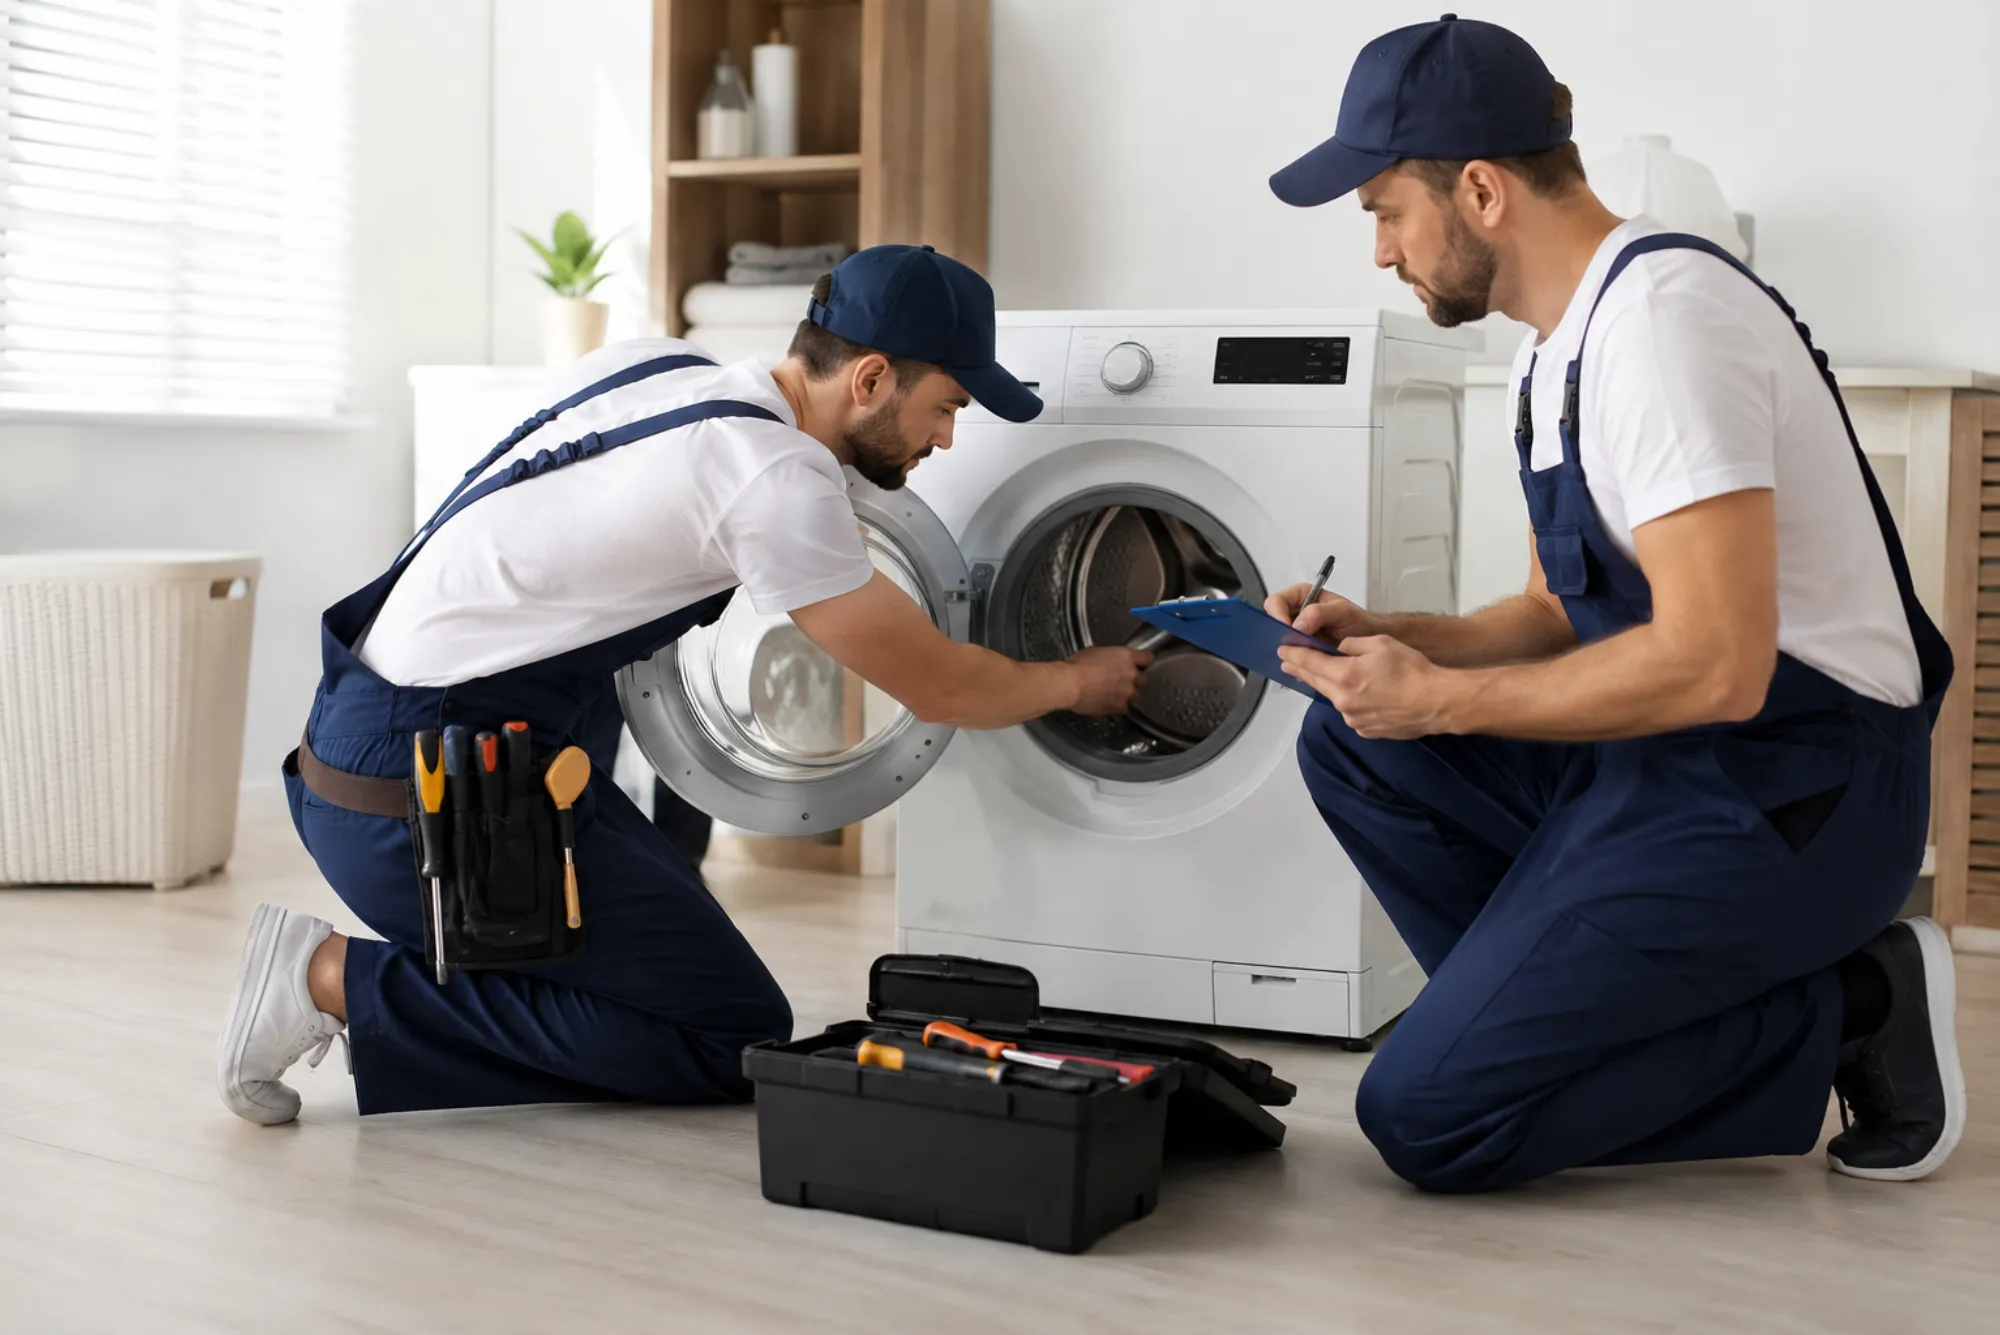
When to Seek Professional Stove Repair Service
While stove rear panel removal is manageable for individuals with basic technical skills, there are circumstances in which professional assistance is necessary. Electrical malfunctions involving control boards or wiring require expertise to ensure safety. Gas stoves present additional risks, as handling burners and gas lines improperly can result in dangerous leaks. Persistent issues that do not resolve after initial repairs also indicate the need for professional intervention. In some cases, attempting DIY repairs may void manufacturer warranties, making professional stove repair service the safest and most reliable option.
Engaging a qualified technician ensures that repairs are performed correctly and safely. Professionals have the experience, tools, and knowledge to diagnose and resolve complex issues, restoring the appliance to full functionality.
Understanding and performing stove rear panel removal is an essential step in maintaining and repairing your stove. By following proper procedures, using the right tools, and observing safety precautions, homeowners can access internal components efficiently and carry out necessary repairs. Routine maintenance performed during rear panel removal enhances the appliance’s lifespan and prevents future malfunctions.
While DIY stove repair can be effective for simple issues, recognizing when to seek professional stove repair service is critical for safety and reliability. Professional intervention ensures that electrical or gas-related problems are addressed correctly, safeguarding both the appliance and the household. By approaching stove maintenance and repair systematically, you can enjoy a safe, efficient, and long-lasting stove that meets your kitchen needs.