Gas ovens remain a cornerstone of many households, offering consistent heat, reliable performance, and energy efficiency compared to electric models. At the heart of this system lies a small but essential component: the gas regulator. This part ensures that gas flows into the oven at the correct pressure, allowing burners and the oven cavity to heat evenly and safely. Like any mechanical component, however, regulators can wear out, become clogged, or fail. When this happens, your oven may no longer heat properly, emit unusual odors, or even fail to ignite altogether. Knowing how to replace an oven gas regulator can restore your appliance’s functionality and ensure continued safe operation.
Replacing this component may sound intimidating, but with careful preparation, patience, and adherence to safety protocols, it is a task many homeowners can handle themselves. This article will walk you through the process in depth, providing a professional yet accessible explanation of every stage—from recognizing the signs of regulator failure to testing your oven once the new part is installed.
Understanding the Role of a Gas Regulator
To appreciate the importance of the regulator, it helps to understand how a gas oven works. Natural gas or propane enters your oven through a supply line connected to your home’s utility source or tank. Without regulation, the pressure of this fuel would be inconsistent and could damage components or create hazardous conditions. The regulator acts as a gatekeeper, ensuring a stable and precise pressure level that matches the oven’s design specifications.
When functioning correctly, this balance means flames ignite easily, burners heat evenly, and the oven cavity maintains a consistent temperature. When a regulator begins to fail, however, symptoms often include weak or irregular flames, difficulty in ignition, fluctuating oven temperatures, or even the smell of unburned gas. If these issues occur, replacing the regulator is often the most effective solution.
Safety Considerations Before Beginning
Working with gas appliances demands a meticulous approach to safety. Before attempting any replacement, it is crucial to recognize the inherent risks. Gas leaks can result in fire, explosions, or health hazards. Because of this, manufacturers and safety authorities recommend shutting off the gas supply completely before attempting repairs. In addition, electrical connections to the oven should be disconnected, as many modern units incorporate electronic ignition systems.
It is also advisable to work in a well-ventilated space and keep a fire extinguisher rated for gas and electrical fires nearby. Protective gloves and safety goggles reduce the chance of injury when handling metal fittings, tools, and the regulator itself. For individuals uncomfortable with these precautions, contacting a licensed technician is always the safest choice. However, with care and the right guidance, many homeowners have successfully performed this repair themselves.

Tools and Materials Required
Although replacing a gas regulator does not require an extensive toolkit, having the correct tools on hand ensures a smoother process. A set of adjustable wrenches or spanners is necessary to loosen and tighten gas fittings. Pipe thread sealant or approved Teflon tape designed for gas connections will ensure a secure, leak-free seal. A soapy water solution in a spray bottle is also required later for leak testing.
In addition, it is vital to purchase the correct regulator for your specific oven model. Regulators are not universal; their size, pressure rating, and fittings must match the appliance’s requirements. Consult your oven’s manual or the manufacturer’s website to identify the correct replacement part. Purchasing from a reputable supplier ensures you receive a regulator that meets safety and performance standards.
Removing the Old Regulator
Once the oven is fully disconnected from both gas and electrical supplies, the process of removing the old regulator can begin. Typically, the regulator is located at the rear of the oven near the gas inlet. In some models, it may be concealed behind a protective panel, requiring the removal of a few screws.
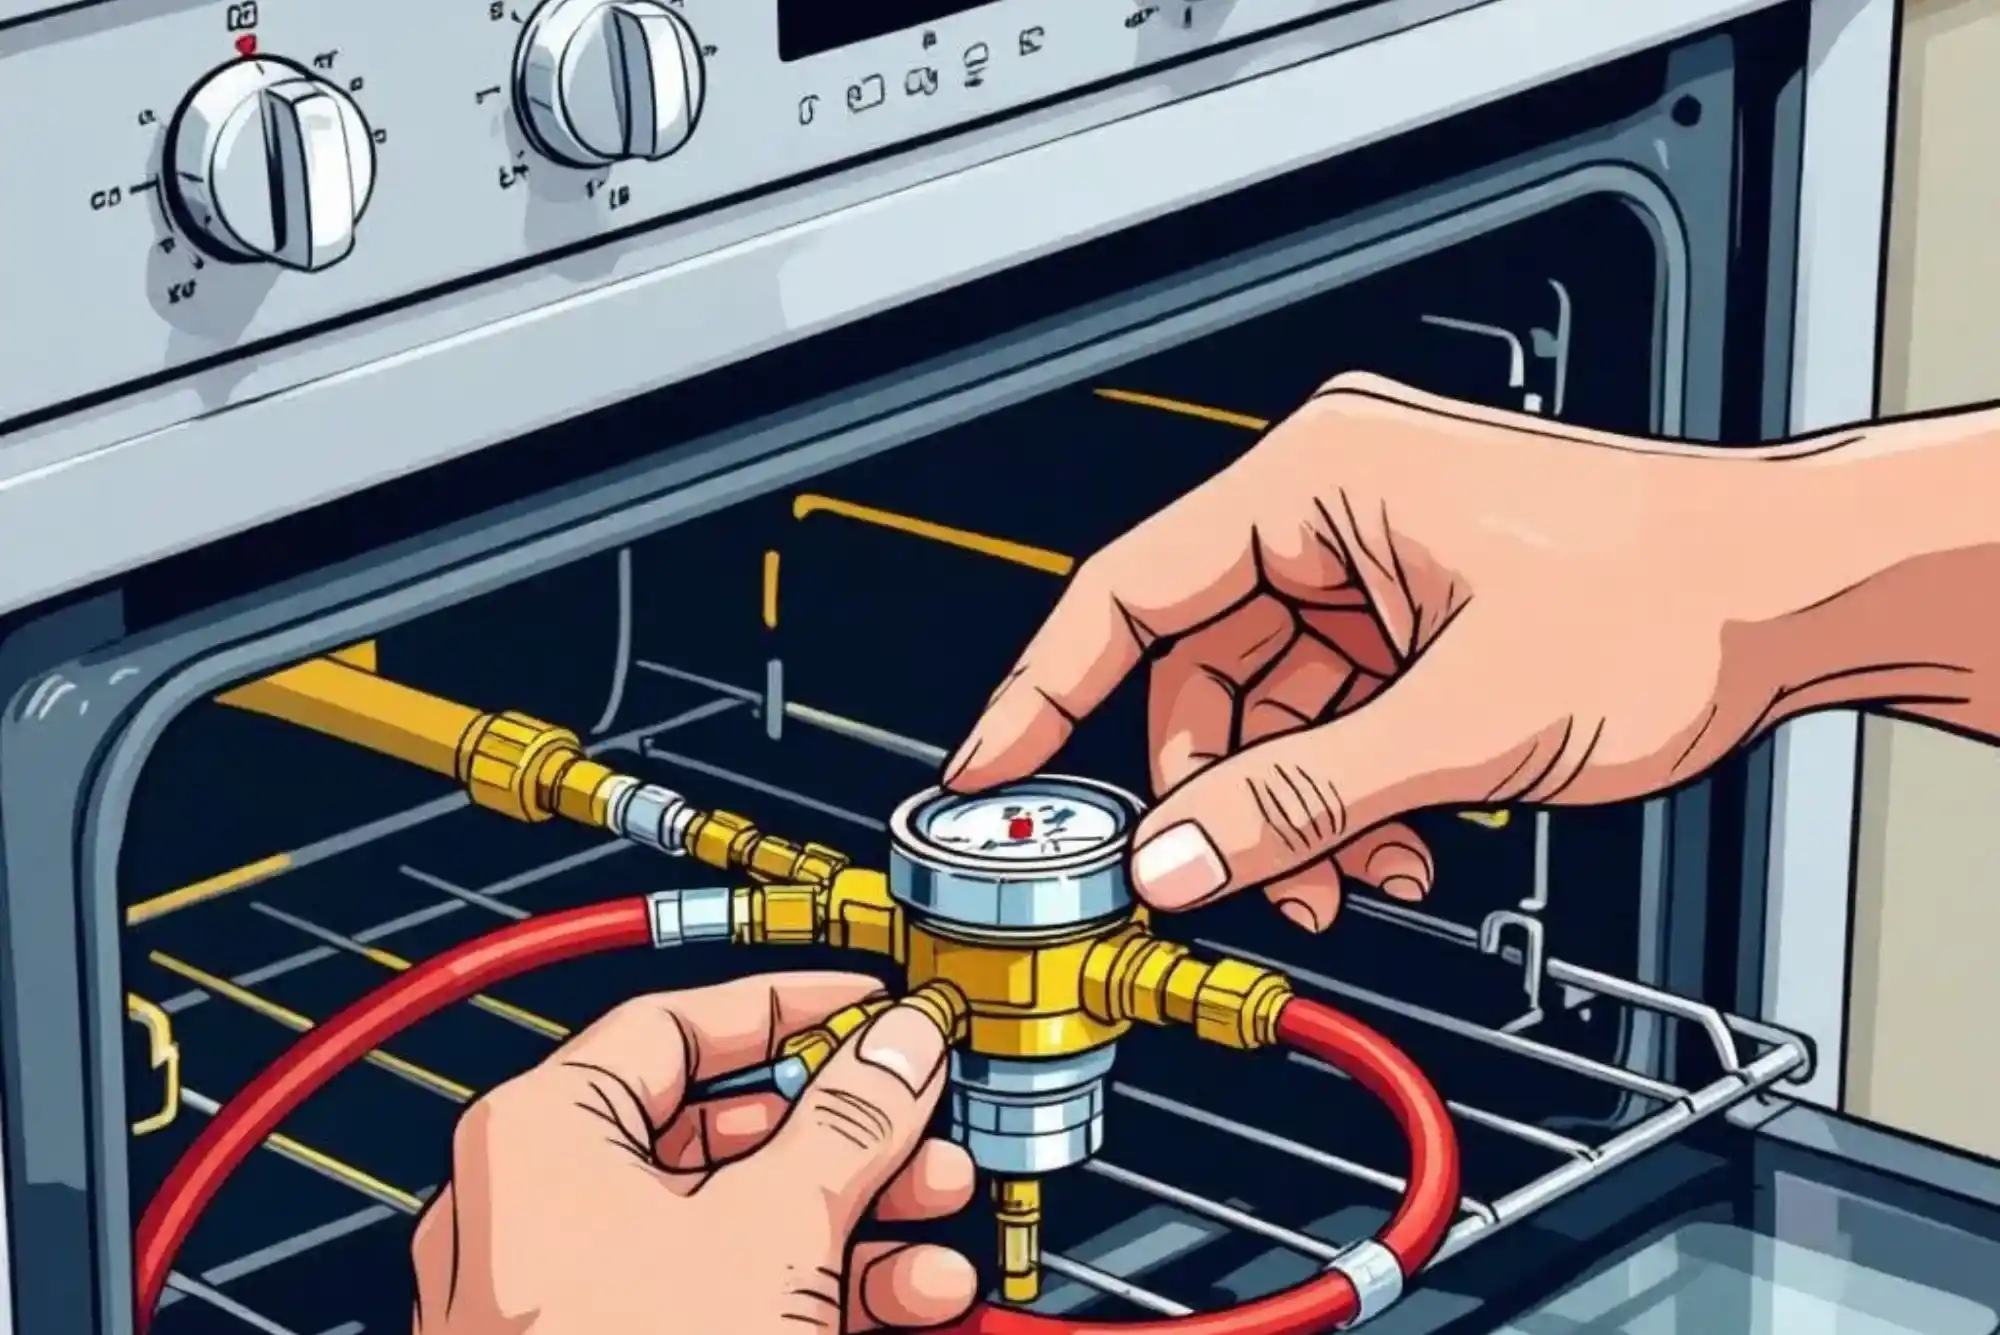
With the regulator exposed, use an adjustable wrench to loosen the fitting that connects it to the gas line. It is common for these connections to be tight, particularly if the oven has been in service for many years. Patience is key; avoid excessive force that could damage the gas line. After disconnecting the gas supply, remove the regulator’s connection to the oven’s internal manifold. At this stage, the old regulator can be lifted away and set aside.
Before installing the new part, inspect the connections for dirt, corrosion, or damage. Cleaning these surfaces ensures a better seal and reduces the chance of leaks.
Installing the New Regulator
The new regulator should be installed in the same orientation as the old one, ensuring the arrow on the regulator’s body aligns with the direction of gas flow. Apply a thin, even layer of gas-rated thread sealant or Teflon tape to the threaded connections. This creates an airtight seal, preventing leaks while allowing the fittings to be tightened securely.
Carefully thread the regulator onto the gas manifold first, tightening it with a wrench until it is snug but not overtightened. Next, reconnect the supply line to the regulator, again tightening securely. Double-check all fittings for alignment and ensure no cross-threading has occurred. Properly aligned fittings will seat smoothly, while resistance may indicate misalignment that should be corrected before proceeding.
Testing for Leaks and Functionality
Once the regulator is installed and connections are tightened, the gas supply can be slowly turned back on. At this point, the soapy water solution becomes an essential diagnostic tool. Spray the solution generously onto all joints and fittings around the regulator. If bubbles form and continue to grow, this indicates a gas leak that must be addressed immediately. Tighten the fitting or reapply sealant as necessary before retesting.
When no leaks are detected, reconnect the oven’s power supply and attempt to ignite the burners. Flames should appear strong and steady, with a consistent blue color. Yellow or flickering flames may indicate insufficient pressure or incomplete combustion, suggesting that further adjustment is needed. Modern regulators are typically pre-calibrated, but some models allow fine-tuning via a small screw on the regulator body. Consult the manufacturer’s instructions before attempting any adjustments.
Final Checks and Long-Term Maintenance
After the oven has been tested and confirmed to be functioning correctly, replace any panels or covers removed during the process. Continue to monitor the oven closely during its first few uses after regulator replacement, paying attention to flame stability, heating performance, and any unusual odors.
Regular maintenance plays a role in extending the lifespan of your new regulator. Ensuring that the oven remains clean, properly ventilated, and free from grease buildup helps reduce stress on the regulator and associated components. Scheduling periodic inspections by a professional technician, especially for older ovens, provides additional assurance of safe operation.
When to Call a Professional
While many homeowners are capable of replacing an oven gas regulator themselves, it is important to recognize situations that demand professional intervention. If your oven is still under warranty, attempting a self-repair could void coverage. Additionally, if the gas supply line appears damaged, corroded, or otherwise compromised, this repair should only be attempted by a licensed professional.
Those who lack experience with plumbing, gas systems, or tools may also prefer to rely on expert help. Gas appliances are unforgiving when handled incorrectly, and the consequences of mistakes can be severe. Hiring a technician may involve additional expense, but it provides peace of mind and ensures compliance with local building codes and safety regulations.
The gas regulator is a small but indispensable component of every gas oven, responsible for maintaining the precise fuel pressure required for safe and efficient operation. Over time, regulators can fail, leading to issues with ignition, uneven heating, or potential gas leaks. Replacing this part, while requiring caution and attention to detail, is a task within reach for many homeowners who follow proper safety procedures and use the correct tools.
By understanding the function of the regulator, preparing thoroughly, and testing carefully after installation, you can restore your oven to full working order and extend its service life. Whether you choose to take on the repair yourself or seek professional assistance, addressing a faulty regulator promptly ensures not only the continued performance of your oven but also the safety of your home and family.