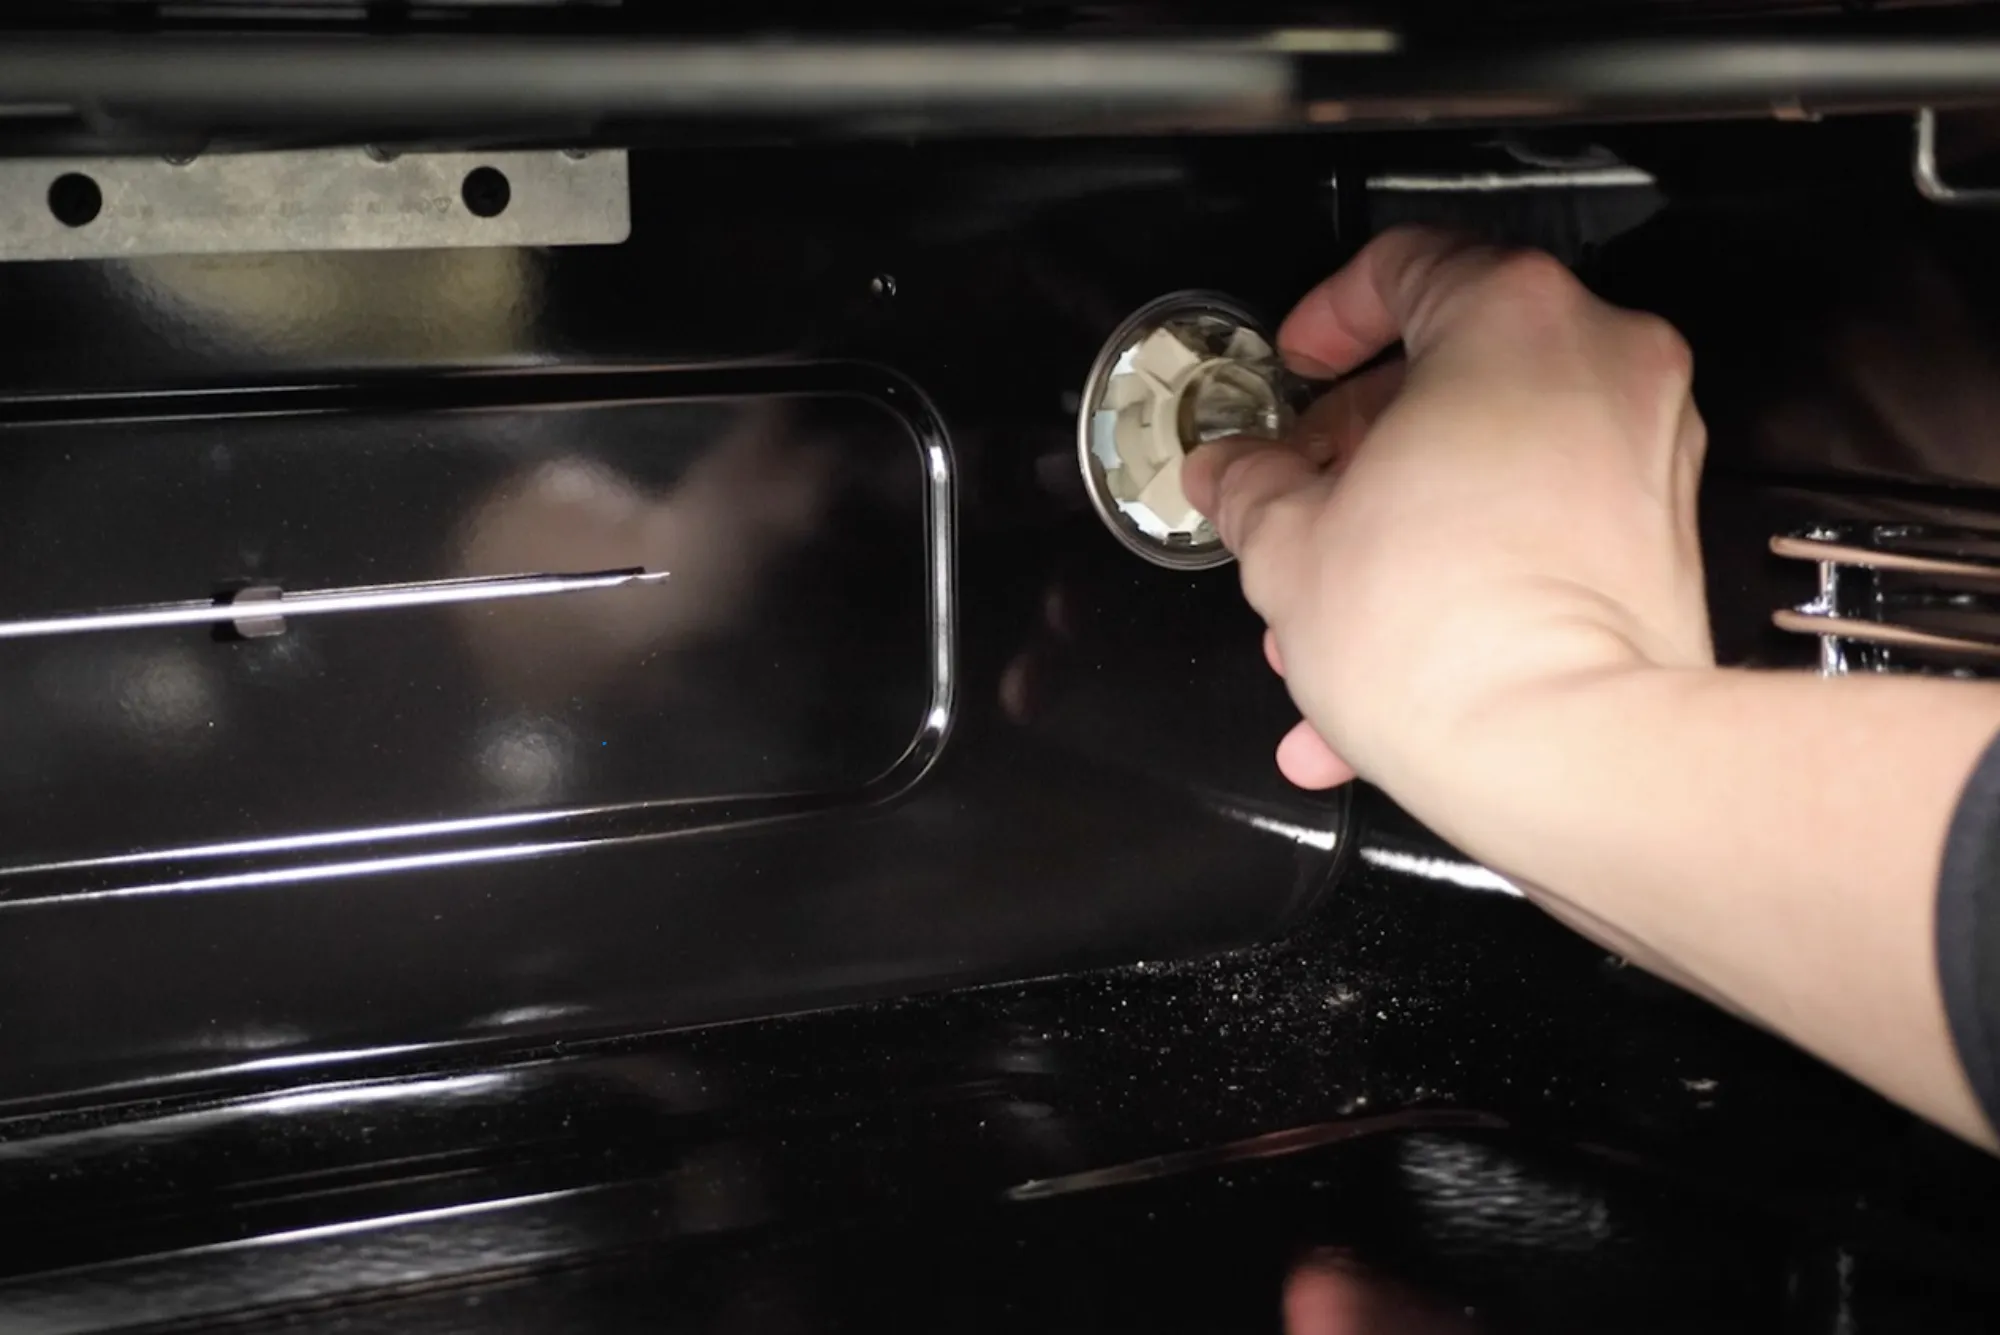
The oven light is one of the simplest yet most essential features of a modern kitchen appliance. It allows you to monitor baking progress without constantly opening the door, which helps maintain stable cooking temperatures. However, like any electrical component, the oven light switch can wear out or fail over time. When the switch no longer functions, the bulb may stay dark even after replacement, or it may remain on constantly, draining energy and affecting oven performance. Replacing the oven light switch is a straightforward repair for most homeowners, provided safety measures are observed and the process is followed carefully.
Understanding the Role of the Oven Light Switch
An oven light switch controls the circuit that powers the small incandescent or halogen bulb inside the oven cavity. When the switch is engaged, either by opening the oven door or pressing a dedicated button, electrical current flows to the bulb and illuminates the cooking area. In many designs, the switch is mounted behind the control panel or near the door frame. A faulty switch interrupts this process, leaving you unable to see food clearly or causing the bulb to flicker or remain permanently lit. Recognizing the importance of this small part is the first step toward a successful repair.
Common Signs the Oven Light Switch Has Failed
Failure of the oven light switch can manifest in several ways. If the oven light does not turn on despite replacing the bulb with a verified working one, the switch is a likely culprit. Another sign is when the light remains on even with the oven door closed, which may indicate a stuck or shorted switch. Flickering or intermittent lighting also suggests worn internal contacts within the switch. Additionally, you may hear unusual clicking sounds when pressing the control button without the light responding. Identifying these symptoms ensures that you address the real cause instead of unnecessarily replacing bulbs or wiring.
Preparing for Safe Replacement Work
Replacing any electrical component in a kitchen appliance requires careful preparation. The first step is always to disconnect power at the source. Unplugging the oven or switching off the dedicated breaker ensures that no current flows during disassembly. Because ovens are typically hardwired or plugged into heavy-duty outlets, this step may require moving the appliance away from the wall carefully. Having the correct replacement part ready is also crucial. Oven light switches are not universal; they must match the make and model of the appliance. Consulting the manufacturer’s documentation or appliance parts retailer guarantees compatibility. Before starting, gather a screwdriver set, a multimeter for testing continuity, protective gloves, and a flashlight for clear visibility inside the oven housing.
Locating the Oven Light Switch
The position of the light switch varies by manufacturer and oven style. In freestanding ranges, the switch is often located behind the control panel near the top front of the appliance. In wall ovens, it may be accessible through the front control area or inside the cavity around the door frame. Some switches are integrated into push buttons on the panel, while others are activated mechanically by the oven door closing against them. Referencing the service manual or an online diagram for your specific model helps pinpoint the exact location, reducing the risk of unnecessary disassembly.
Steps for Removing the Faulty Switch
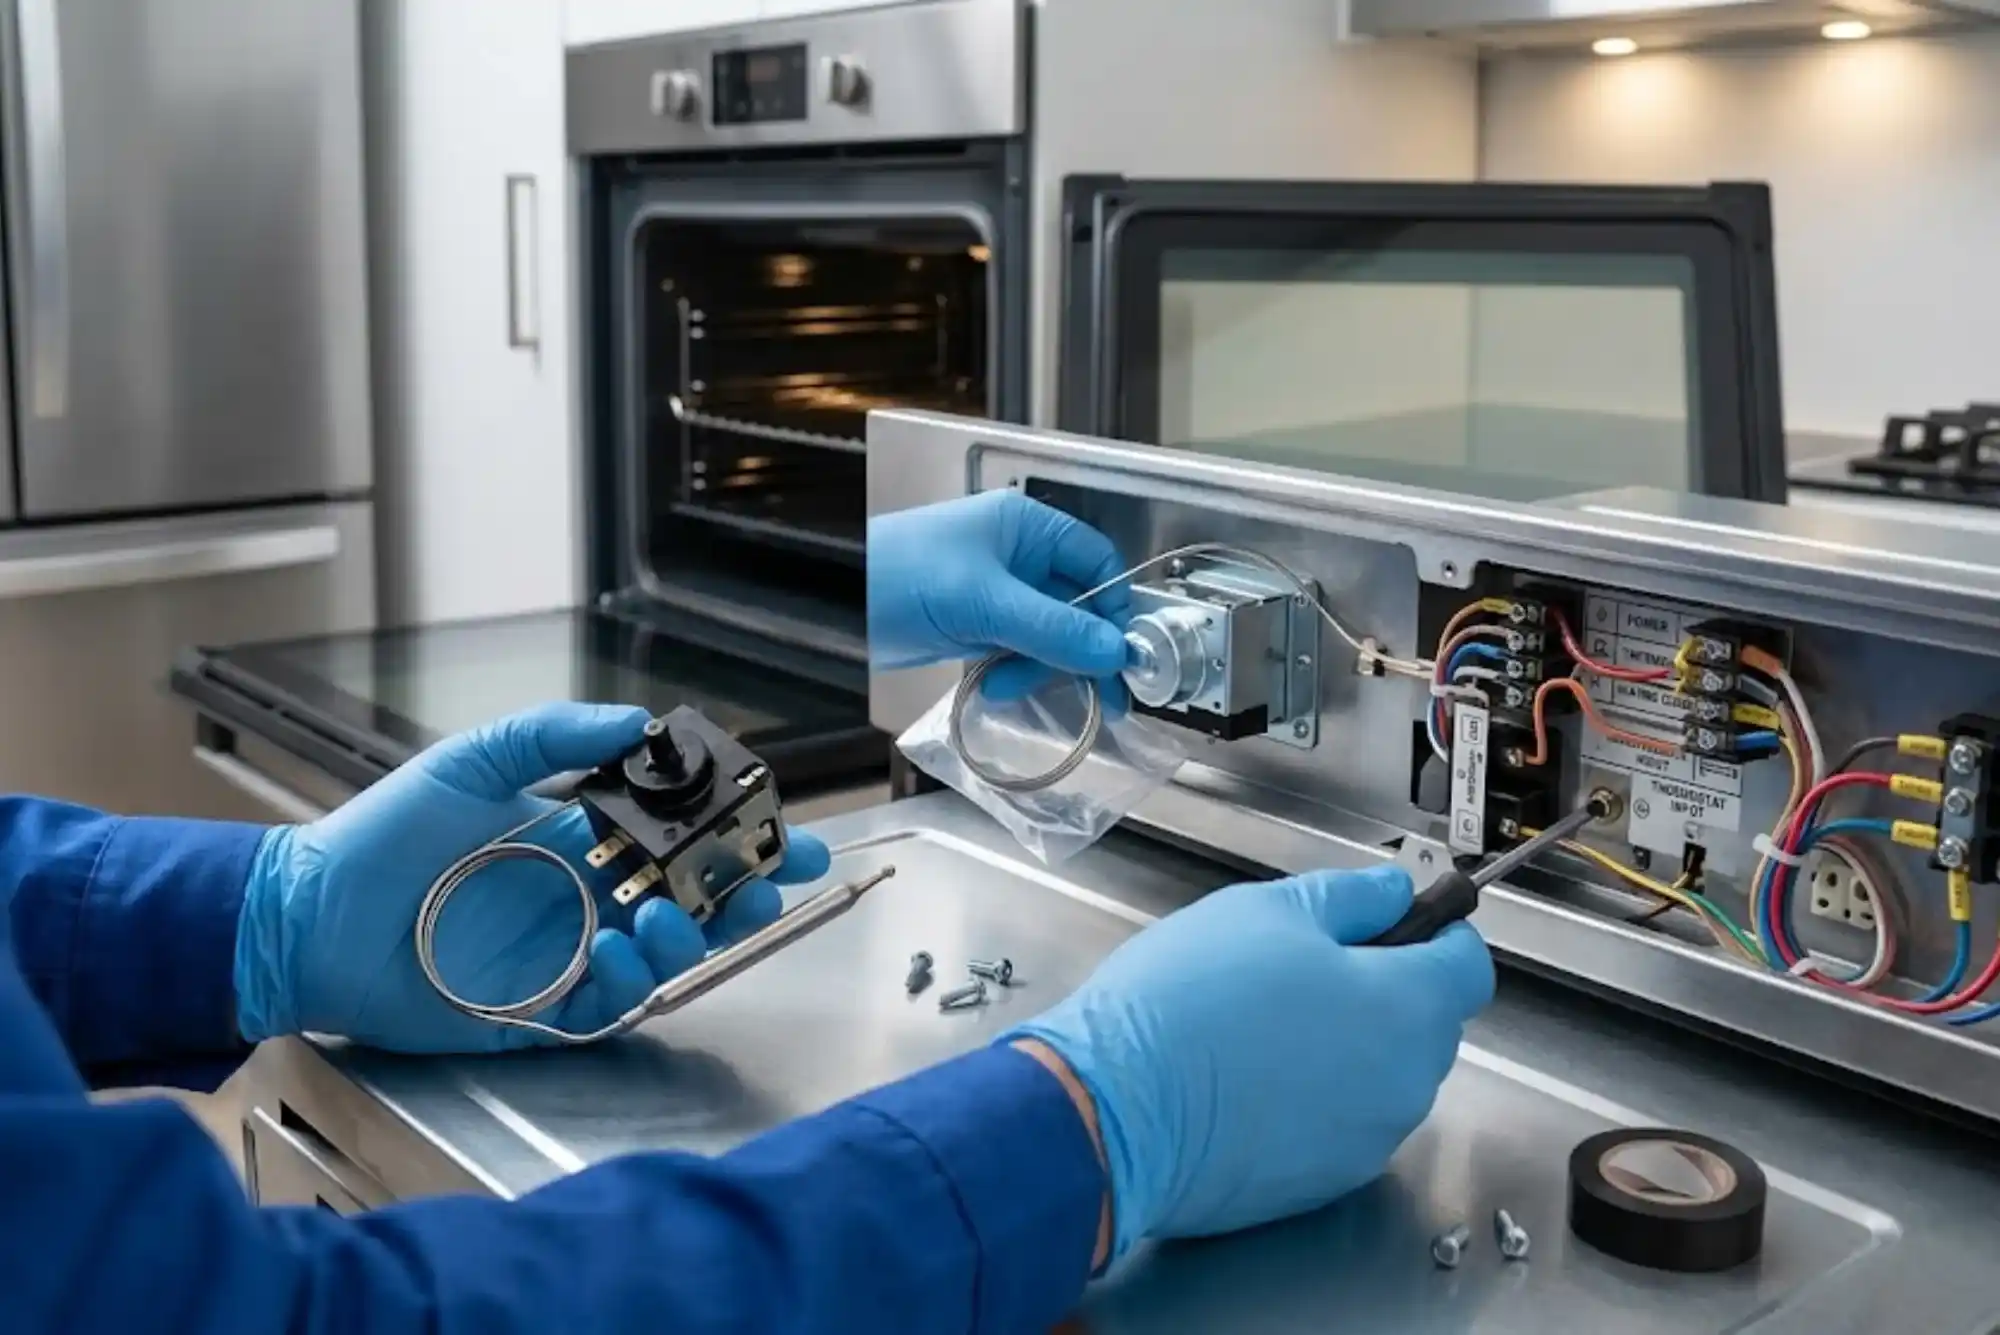
Once the oven has been safely disconnected from power and the switch is located, removal begins. Access panels may need to be unscrewed, and in some designs, the entire control panel must be lifted or tilted forward. Handle each panel gently to avoid damaging wires or insulation. When the switch is visible, take note of its wiring configuration before disconnecting. Photographing the connections with a smartphone is a practical way to ensure accurate reassembly. Pull the connectors free from the switch terminals, and then release the switch from its mounting bracket or retaining clips. Depending on the design, it may slide out or require unscrewing from its housing. Set the old switch aside for comparison with the replacement part.

Installing the New Oven Light Switch
With the faulty switch removed, position the replacement part into the same housing or bracket. Ensure that it fits securely without forcing it into place. Reconnect the wires to their proper terminals using the reference photo or markings observed earlier. Connections must be tight and free from corrosion, as loose contacts can lead to electrical arcing. Once wiring is complete, secure the switch with screws or clips as designed. Before reattaching panels, perform a quick continuity check with a multimeter if possible, verifying that the switch opens and closes the circuit properly. This precaution saves time by confirming that the new switch is functional before reassembling the appliance fully.
Reassembling the Oven and Restoring Power
After the new switch is installed, replace the control panels or covers carefully, ensuring that screws are tightened but not over-torqued, which could strip threads or crack plastic housings. Double-check that no wires are pinched and that all parts are properly aligned. Once the oven is reassembled, reconnect the power by plugging it back in or switching on the breaker. Test the light by pressing the control button or opening the oven door, depending on the design. If the bulb illuminates correctly and switches off as intended, the repair has been successful.
Troubleshooting Persistent Issues After Replacement
In some cases, the oven light may still not function even after installing a new switch. If this occurs, additional troubleshooting is required. Verify first that the replacement bulb is good by testing it in another socket. If the bulb and switch are both functional, the issue may lie in the wiring harness, control board, or socket itself. A multimeter can help trace continuity across these components. For ovens with electronic controls, a failed circuit board relay may prevent the light from working, in which case professional service may be necessary. By systematically testing each component, you can avoid unnecessary replacements and pinpoint the real source of the fault.
Preventing Future Oven Light Switch Failures
Although oven light switches are inexpensive parts, preventing repeated failures saves time and effort. Avoid slamming the oven door, as this places stress on mechanical switches mounted around the frame. Keep the interior of the oven clean to reduce grease buildup that could contaminate electrical contacts. If your oven uses a push-button style switch, press it gently rather than applying excessive force. Additionally, make sure replacement bulbs match the manufacturer’s specifications; using bulbs with incorrect wattage can increase heat and shorten switch lifespan. Regular maintenance and mindful usage extend the life of both bulbs and switches.
When to Seek Professional Assistance
While many homeowners can replace an oven light switch safely, certain situations call for professional help. If the oven is hardwired directly into your kitchen’s electrical system, disconnecting it may pose risks without proper tools or knowledge. Similarly, if your troubleshooting reveals deeper electrical issues such as damaged wiring or a failed control board, hiring an appliance repair technician ensures safe and accurate repairs. Professional service may also be preferable if the oven is still under warranty, since unauthorized DIY work could void coverage. Knowing your limits is as important as understanding the repair itself.
The Value of a Functional Oven Light
Though small in size, the oven light plays a significant role in everyday cooking. It allows bakers to monitor delicate pastries without disturbing the oven environment and helps cooks judge doneness visually without opening the door. When the light fails, it may seem like a minor inconvenience, but it can affect cooking accuracy and efficiency. Replacing the oven light switch restores not only illumination but also the convenience and confidence of being able to monitor meals at a glance. The process, when approached with safety and preparation, is a rewarding home repair that reinforces the importance of maintaining even the smallest appliance components.