A washing machine’s electronic timer is one of the most essential components responsible for controlling the different stages of a wash cycle. When the timer malfunctions, the entire washing process can be disrupted, causing delays, incomplete washes, or even machine failure. Whether you’re a homeowner trying to troubleshoot an issue or a professional technician aiming to provide reliable service, understanding how to replace a washing machine electronic timer is crucial. This detailed guide explains everything you need to know about the process, from identifying the symptoms of a faulty timer to installing a new one safely and efficiently.
Understanding the Role of the Electronic Timer
The electronic timer acts as the brain of your washing machine. It regulates the duration of each washing cycle, including washing, rinsing, spinning, and draining. Essentially, the timer sends electrical signals to different parts of the machine—such as the motor, valves, and pump—to perform their specific tasks at the right time.
Modern washing machines rely heavily on electronic timers rather than mechanical ones, offering more precise control and energy efficiency. However, these advanced timers can fail due to power surges, moisture exposure, or general wear and tear. Recognizing these signs early can save both time and money by preventing more serious damage to the appliance.
Signs That the Washing Machine Timer Is Faulty
A defective electronic timer often shows several clear warning signs. For instance, if the washer gets stuck at one stage of the cycle or doesn’t move forward automatically, it’s an indicator that the timer is not signaling properly. Another sign is when the machine skips a particular cycle, such as spin or rinse, or continues running endlessly without stopping.
Additionally, in some cases, the washing machine may not start at all, even though power is reaching the appliance. If you notice irregular behavior like this, it’s essential to perform a proper diagnosis before replacing the timer. Sometimes, other components like door locks, water inlet valves, or control boards might be responsible. However, when all other parts are functioning normally, the electronic timer is the likely culprit.
Preparing for Timer Replacement
Before you start replacing the electronic timer, preparation is key to ensuring both safety and efficiency. Always disconnect the washing machine from the power source. Water and electricity are a dangerous combination, so make sure the appliance is unplugged before any repair work begins.
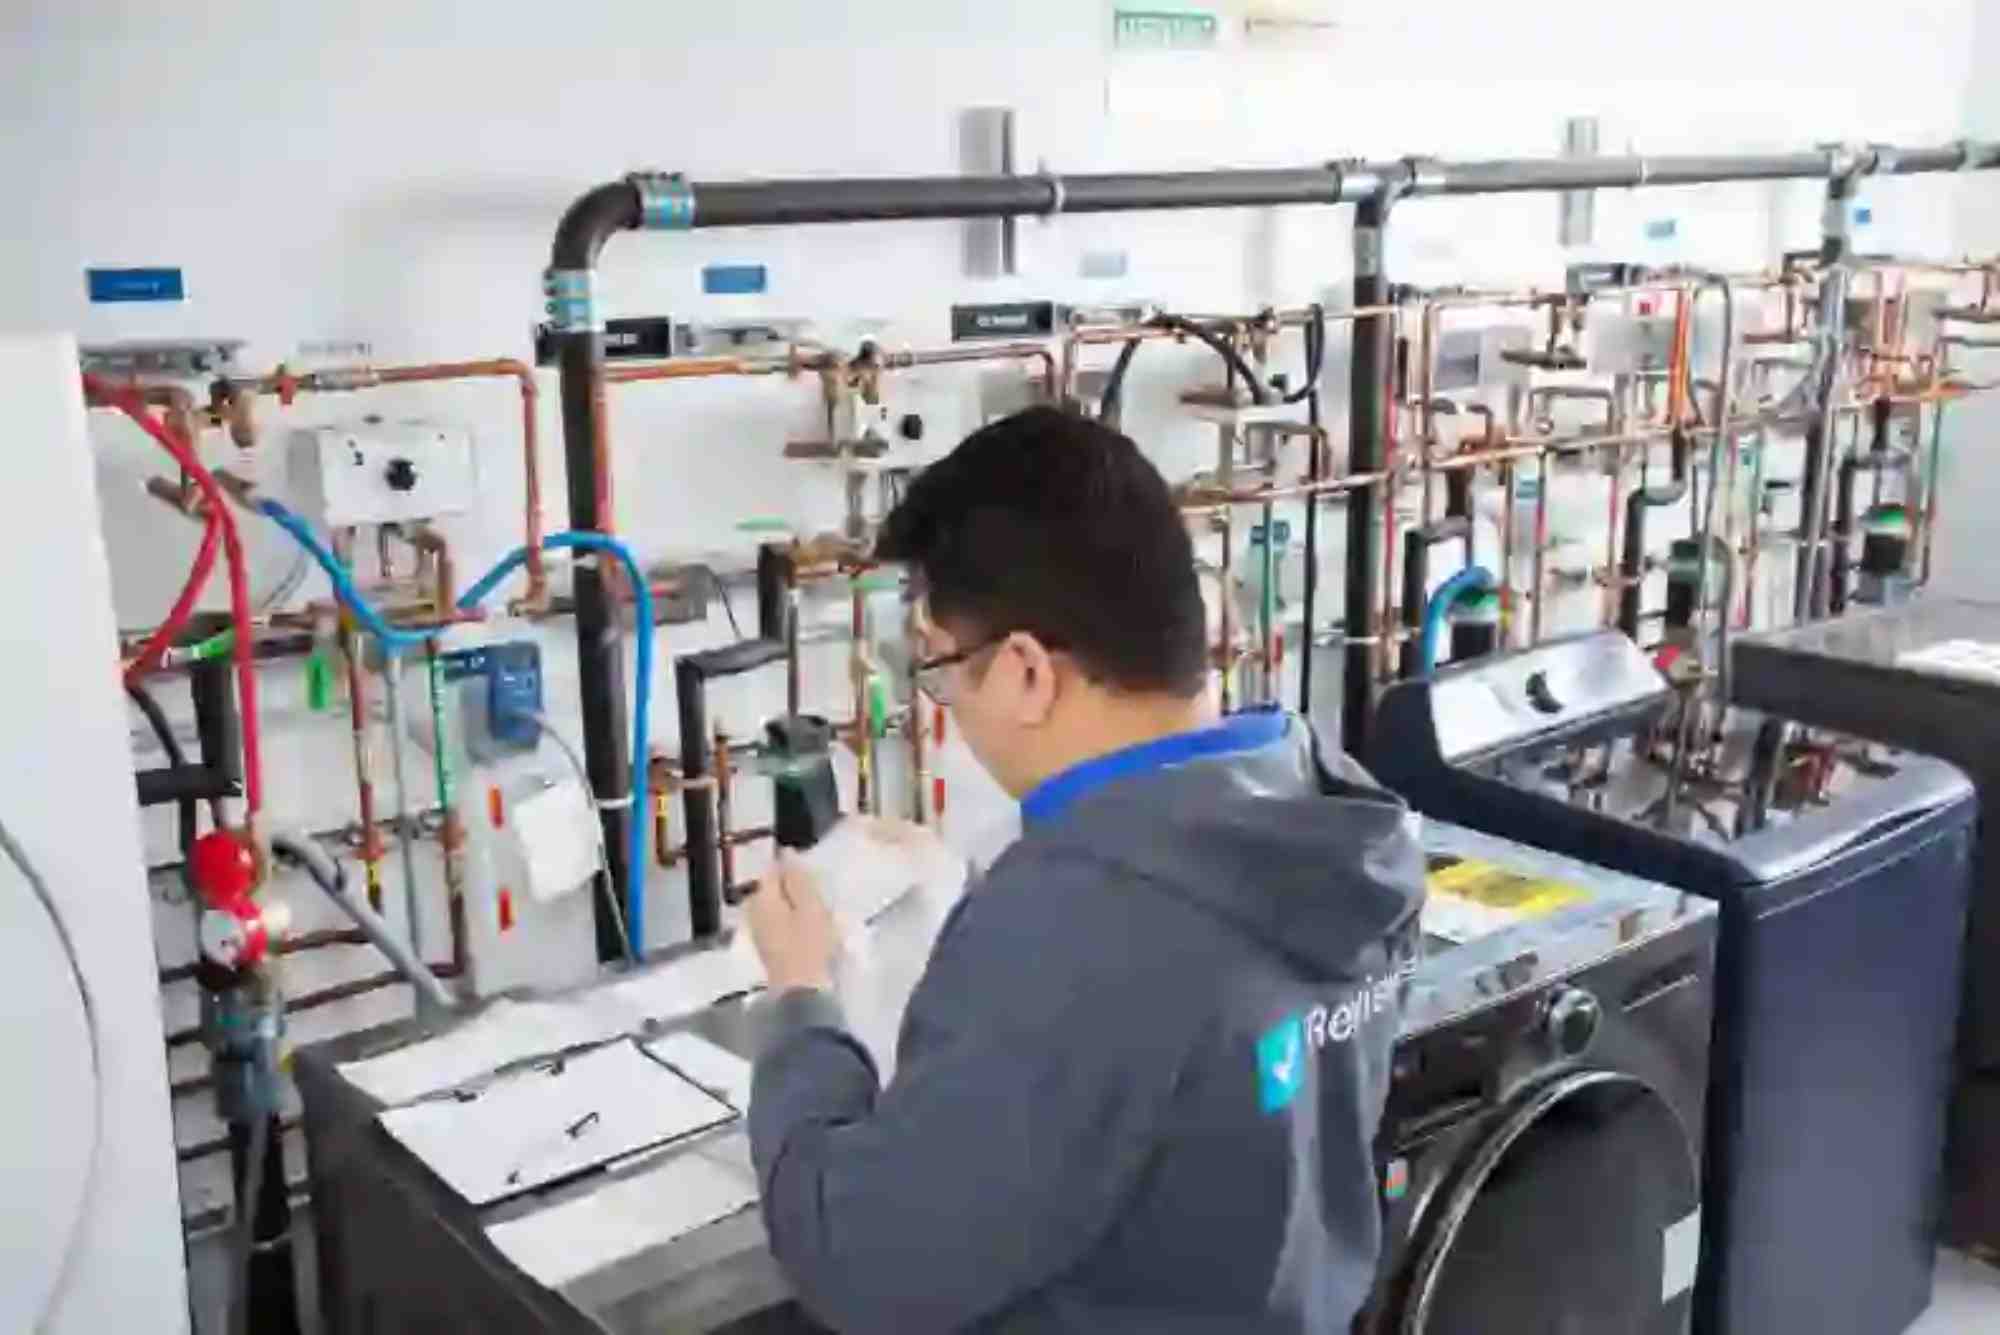
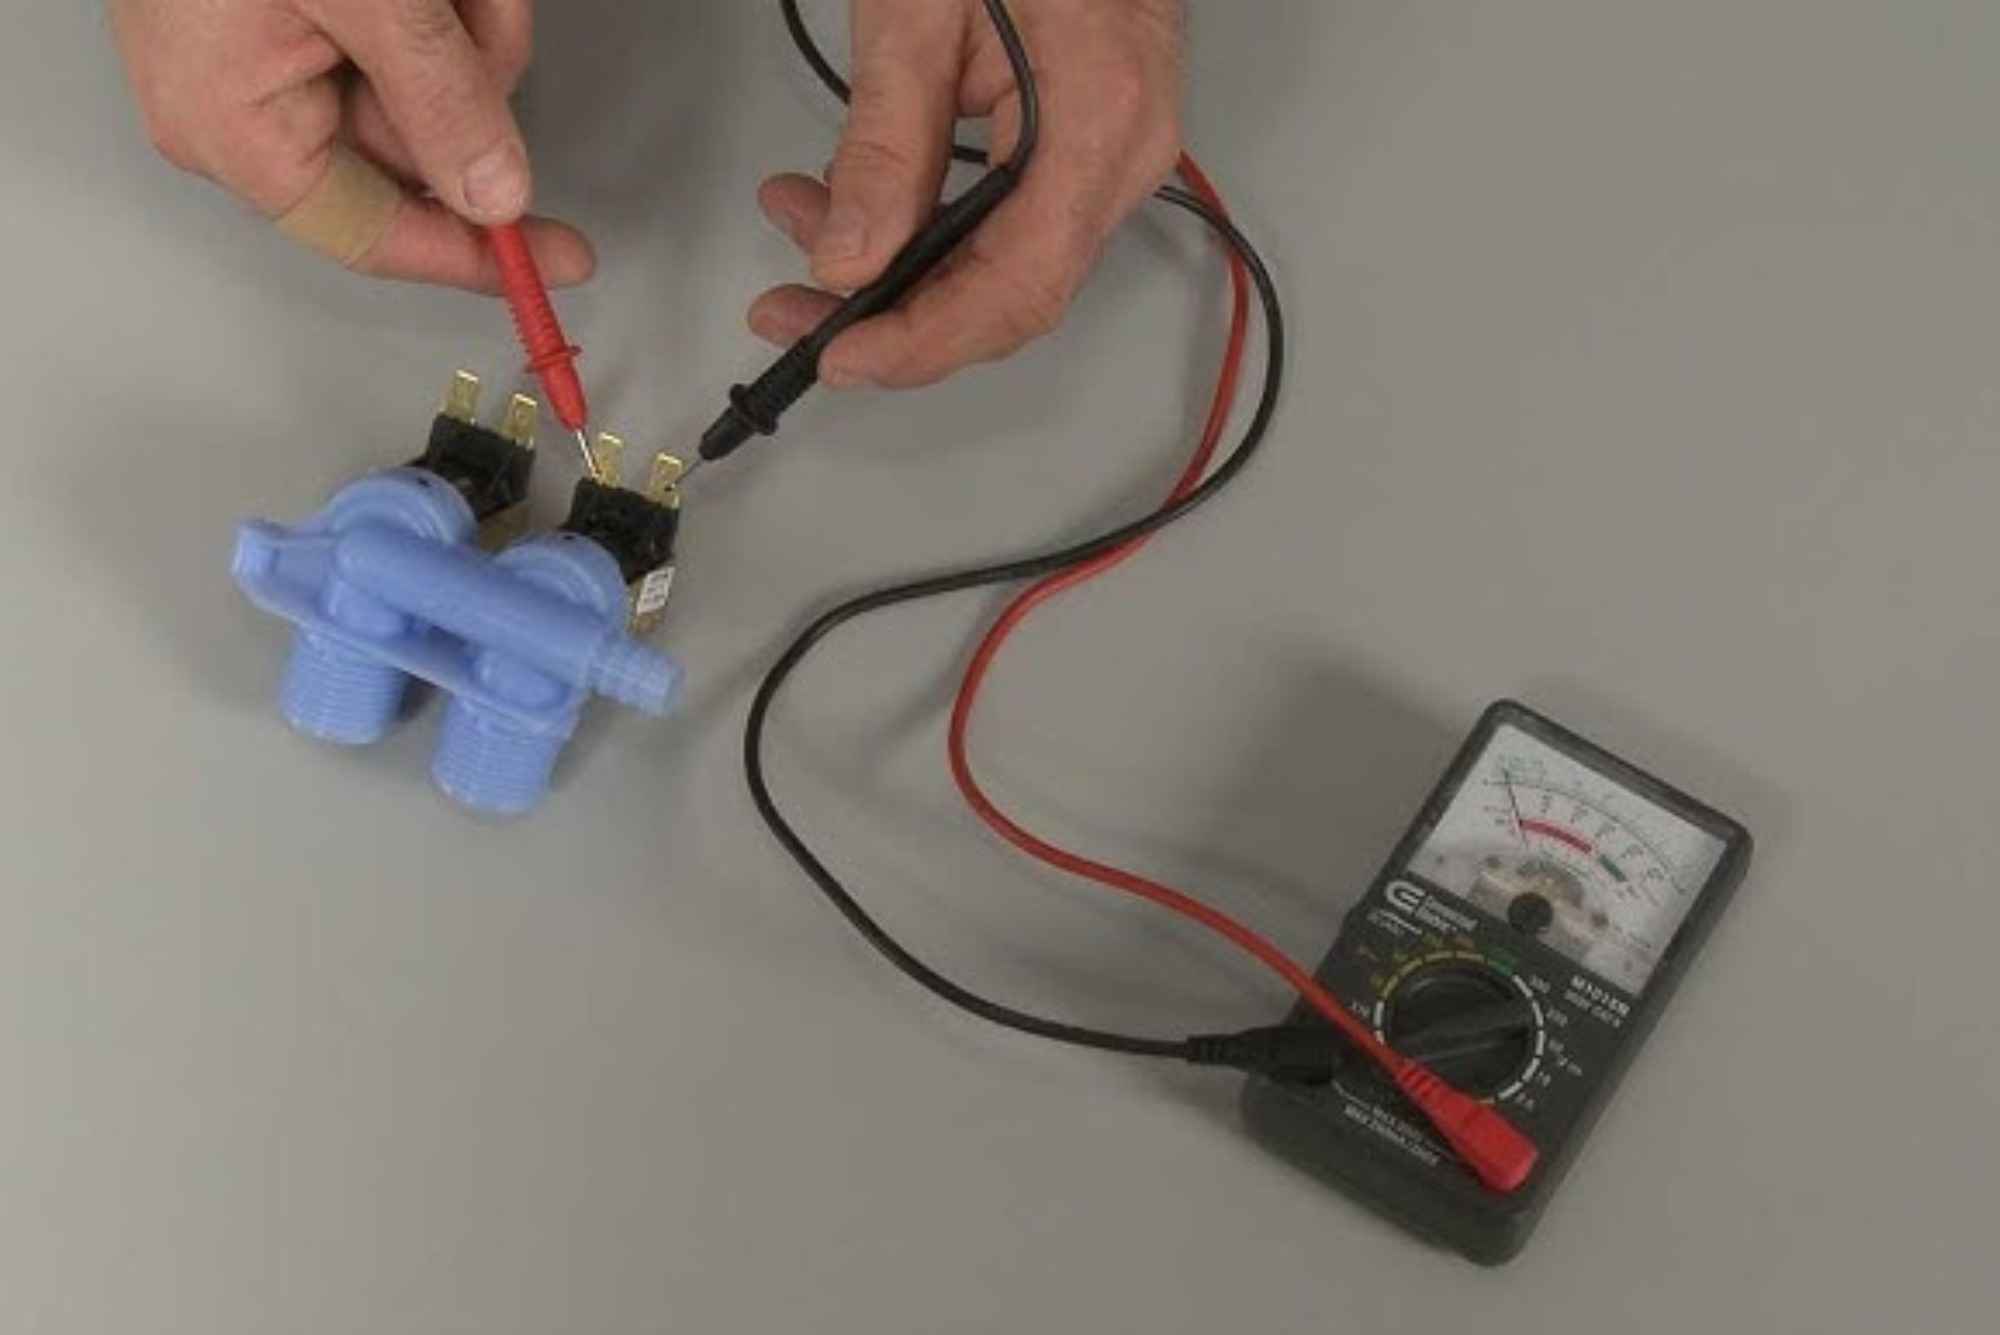
Next, move the washing machine repair to a position where you can access its back or top panel comfortably. Having a well-lit workspace is also important since the internal wiring and small components can be tricky to handle in dim lighting. Keep a screwdriver set, multimeter, and the replacement timer ready before starting. It’s also helpful to have the user manual on hand, as it may include specific details about your model’s timer wiring or mounting style.
Removing the Old Electronic Timer
Once you have safely unplugged the washing machine and set up your workspace, you can begin by removing the control panel. Most washing machines have the control panel located at the top, secured by a few screws. Gently unscrew them and lift the panel to access the internal components.
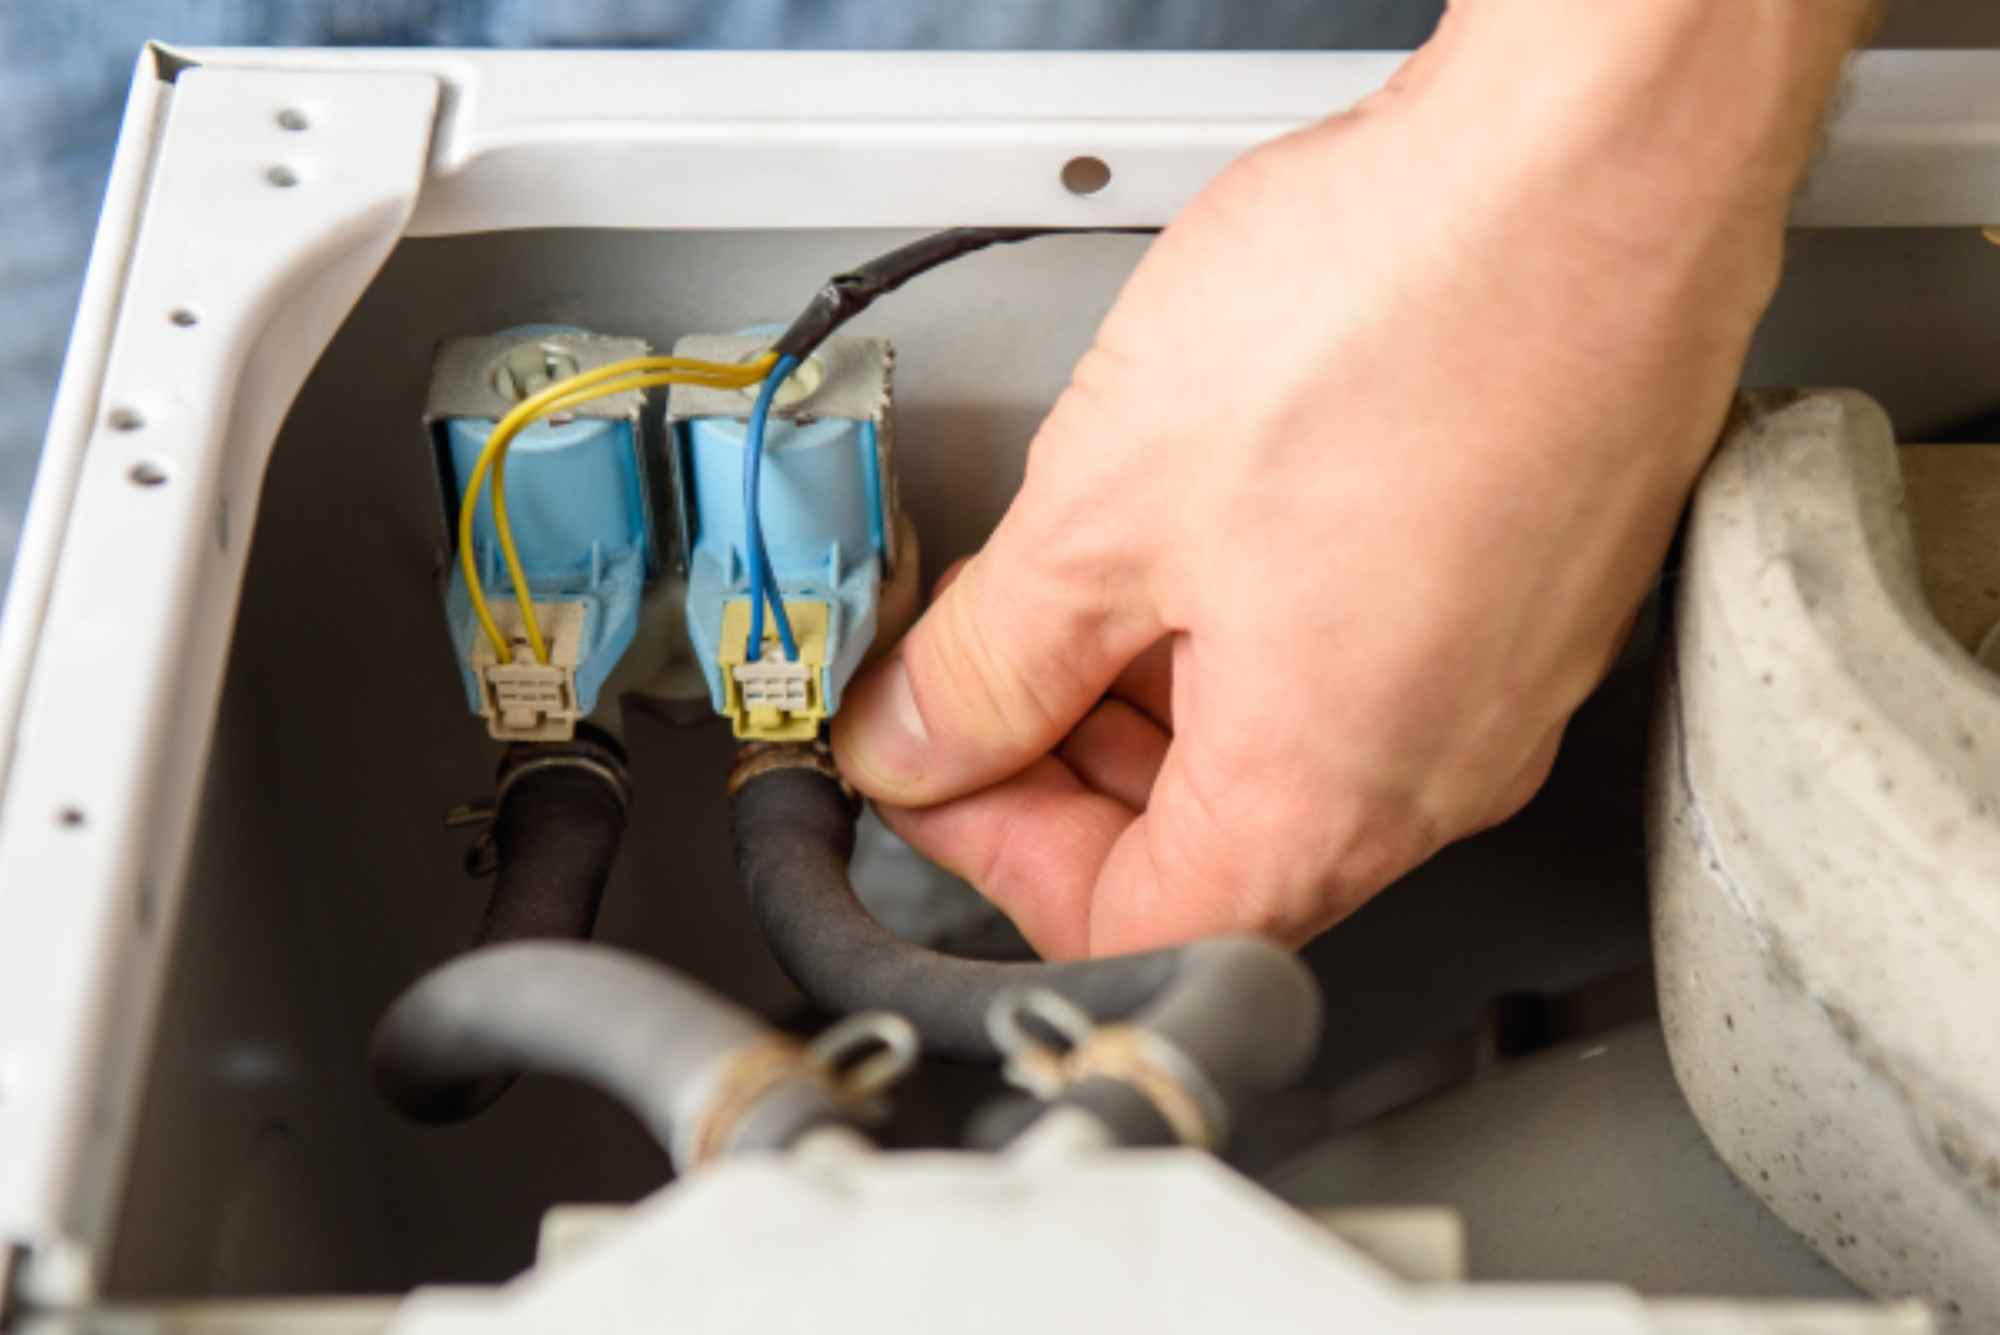
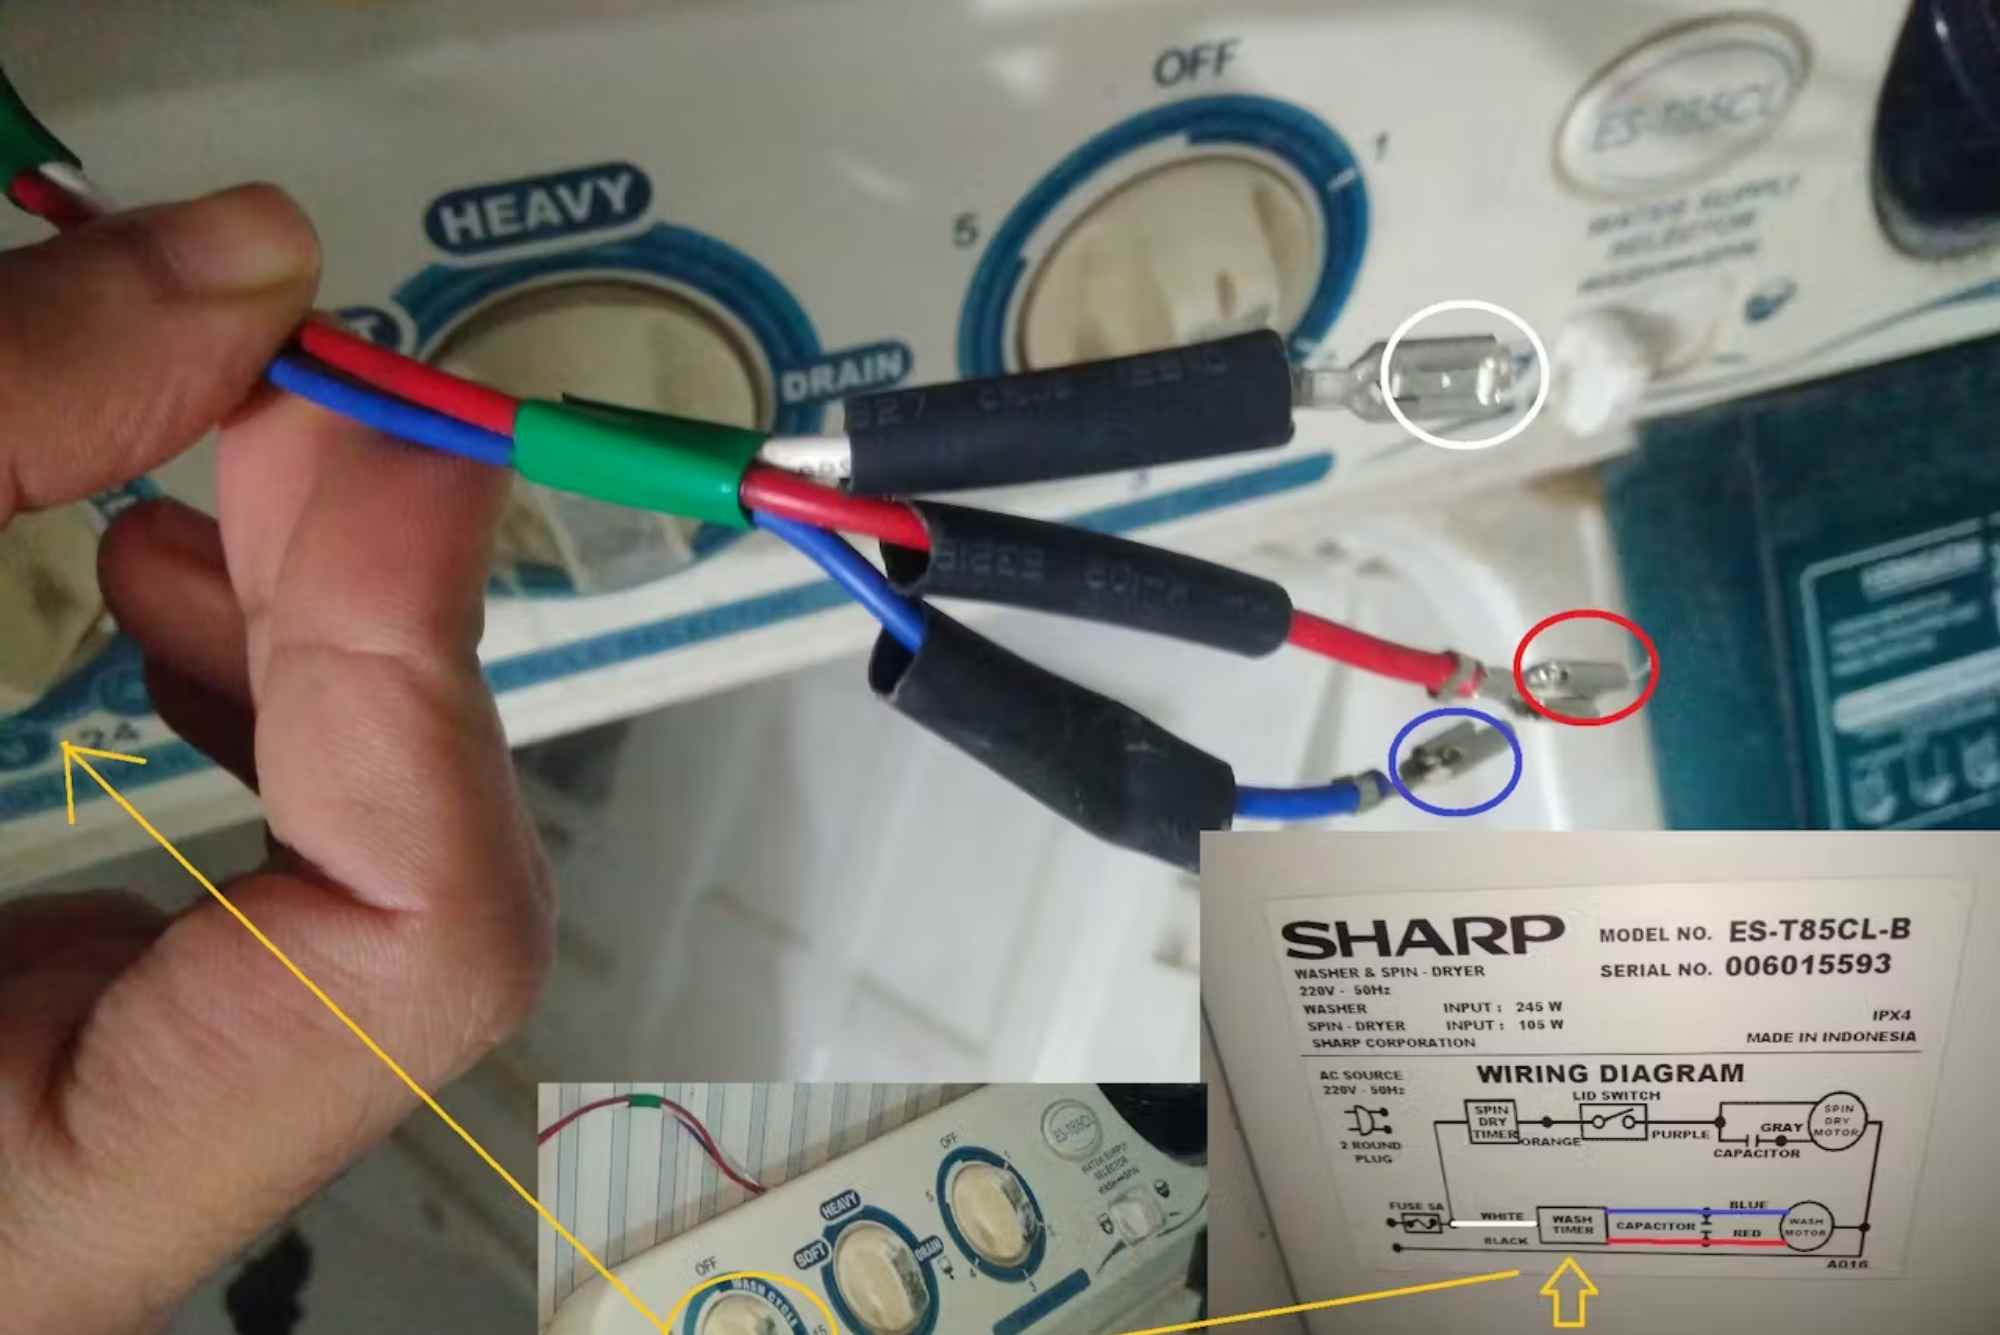
Locate the electronic timer, usually connected to a wiring harness. Take a picture or note down the wire connections before disconnecting anything. This simple step helps ensure that you reconnect everything correctly when installing the new timer.
Carefully disconnect the wires one by one and release the timer from its mounting bracket. Some timers are held in place by clips or screws, depending on the model. Once detached, inspect the area for any signs of burnt marks or corrosion that could indicate electrical issues.
Installing the New Electronic Timer
Installing the new timer requires precision. Align the replacement timer exactly as the old one was positioned. Secure it using the mounting screws or clips. Next, reconnect each wire to its corresponding terminal based on the notes or photos you took earlier. Proper wiring is critical since incorrect connections can cause the washing machine to malfunction or even short circuit.
After connecting the wires, gently close the control panel and tighten the screws securely. Plug the washing machine back in and perform a quick test cycle to ensure that everything functions correctly. Watch for smooth transitions between cycles, proper drainage, and normal operation times.
If the washing machine completes a cycle successfully without getting stuck or skipping stages, it’s a good sign that the replacement was successful.
Common Mistakes to Avoid During Replacement
Replacing a washing machine timer may seem straightforward, but small mistakes can cause big problems. One common error is failing to disconnect the power before handling the timer. Even a small electrical charge can pose serious risks.
Another mistake is installing the wrong timer model. Washing machine timers vary by brand and model, so using a mismatched part can cause operational issues or damage other electronic components. Always double-check the model number of your appliance before purchasing the replacement part.
Also, avoid pulling or twisting the wires excessively when disconnecting them. Doing so can loosen internal connections, making the problem worse instead of fixing it. Taking careful, steady steps ensures a successful repair without unnecessary complications.
Why Professional Help May Be Necessary
While many homeowners attempt to replace the washing machine timer themselves, professional assistance is often the safest and most reliable option. Expert appliance technicians have the proper tools and training to identify the exact cause of the problem. Sometimes, what appears to be a faulty timer could actually be an issue with the control board or wiring harness.
By hiring a qualified technician, you ensure that the washing machine is repaired according to manufacturer standards. This not only protects your appliance warranty but also guarantees long-term performance. Professionals also test all connected components to make sure everything is functioning harmoniously after replacement.
Maintenance Tips to Extend Timer Life
To avoid frequent electronic timer failures, proper maintenance of your washing machine is essential. Always keep the control panel area dry and free from moisture, as humidity is a leading cause of electrical damage. Unplug the machine during thunderstorms or voltage fluctuations to prevent power surge damage.
Additionally, avoid overloading your washing machine. Overloading can cause the machine to strain, increasing the risk of damage to electrical components, including the timer. Regular servicing and cleaning can help ensure smooth operation and early detection of any potential issues.
When to Replace vs. Repair
Sometimes, replacing the timer might not be the most economical solution. If your washing machine is more than 8 to 10 years old and has multiple ongoing issues, replacing the entire appliance might be a smarter investment. However, if the machine is relatively new and in good condition, replacing just the timer can restore full functionality at a much lower cost.
Consulting a professional repair technician can help you make the right decision. They can assess the overall condition of the appliance and recommend whether replacement or repair will be more cost-effective in the long run.
Final Thoughts
The electronic timer in a washing machine is vital for ensuring that each wash cycle runs efficiently and on schedule. When it malfunctions, your laundry routine can quickly become frustrating. Learning how to replace the electronic timer can save you both time and repair costs, but it requires patience, care, and technical accuracy.
If you’re uncertain about performing the task yourself, seeking professional repair services is the best solution. Appliance experts, like those at Home Appliances Repair, provide reliable washing machine repair and replacement services across Dubai. They ensure safe handling of all electrical components and guarantee your appliance runs like new again.