The stove is one of the most important appliances in any kitchen, and when its components start to wear out, the entire cooking process can be disrupted. Among the critical parts of an electric stove is the broil element, the upper heating coil responsible for high-heat cooking tasks such as broiling meats, crisping the tops of casseroles, and giving a perfect finishing touch to baked dishes. When this part fails, it can leave food undercooked, unevenly browned, or not broiled at all. Replacing a faulty broil element is a task that can be performed by most homeowners with a bit of care and understanding. This article will guide you through the entire process of identifying the problem, preparing for replacement, removing the damaged element, and installing a new one safely.
Understanding the Role of the Broil Element
The broil element is typically found at the top of an electric oven cavity. Unlike the bake element at the bottom, which provides steady, even heat, the broil element produces intense direct heat from above. This makes it ideal for caramelizing, crisping, and quickly cooking food on the surface. Because of the high temperatures it reaches, the broil element is more prone to damage than other oven components. Over time, repeated heating and cooling cycles cause the metal coil to weaken, leading to burnout, arcing, or visible breaks in the element.
When the broil element fails, it may completely stop glowing red, only heat partially, or spark during use. Recognizing these symptoms early prevents further damage to the appliance and ensures safe cooking performance.
Signs That the Broil Element Needs Replacement
Not every oven malfunction is caused by the broil element, so understanding the signs of a failing one is crucial. The most common indicator is when the broil setting no longer produces sufficient heat. You may notice your food taking much longer than usual to brown or not crisping at all. In other cases, the element may glow faintly on one end but remain dark on the other, showing partial failure. Sometimes you may even see blistering, cracks, or visible breaks in the coil.
Electrical issues can also reveal themselves as sparks or unusual noises when the element is activated. These are clear warnings that continuing to use the stove in this condition could be unsafe. If the element does not respond even after confirming that the oven control settings are correct, the component itself is most likely the issue and requires replacement.
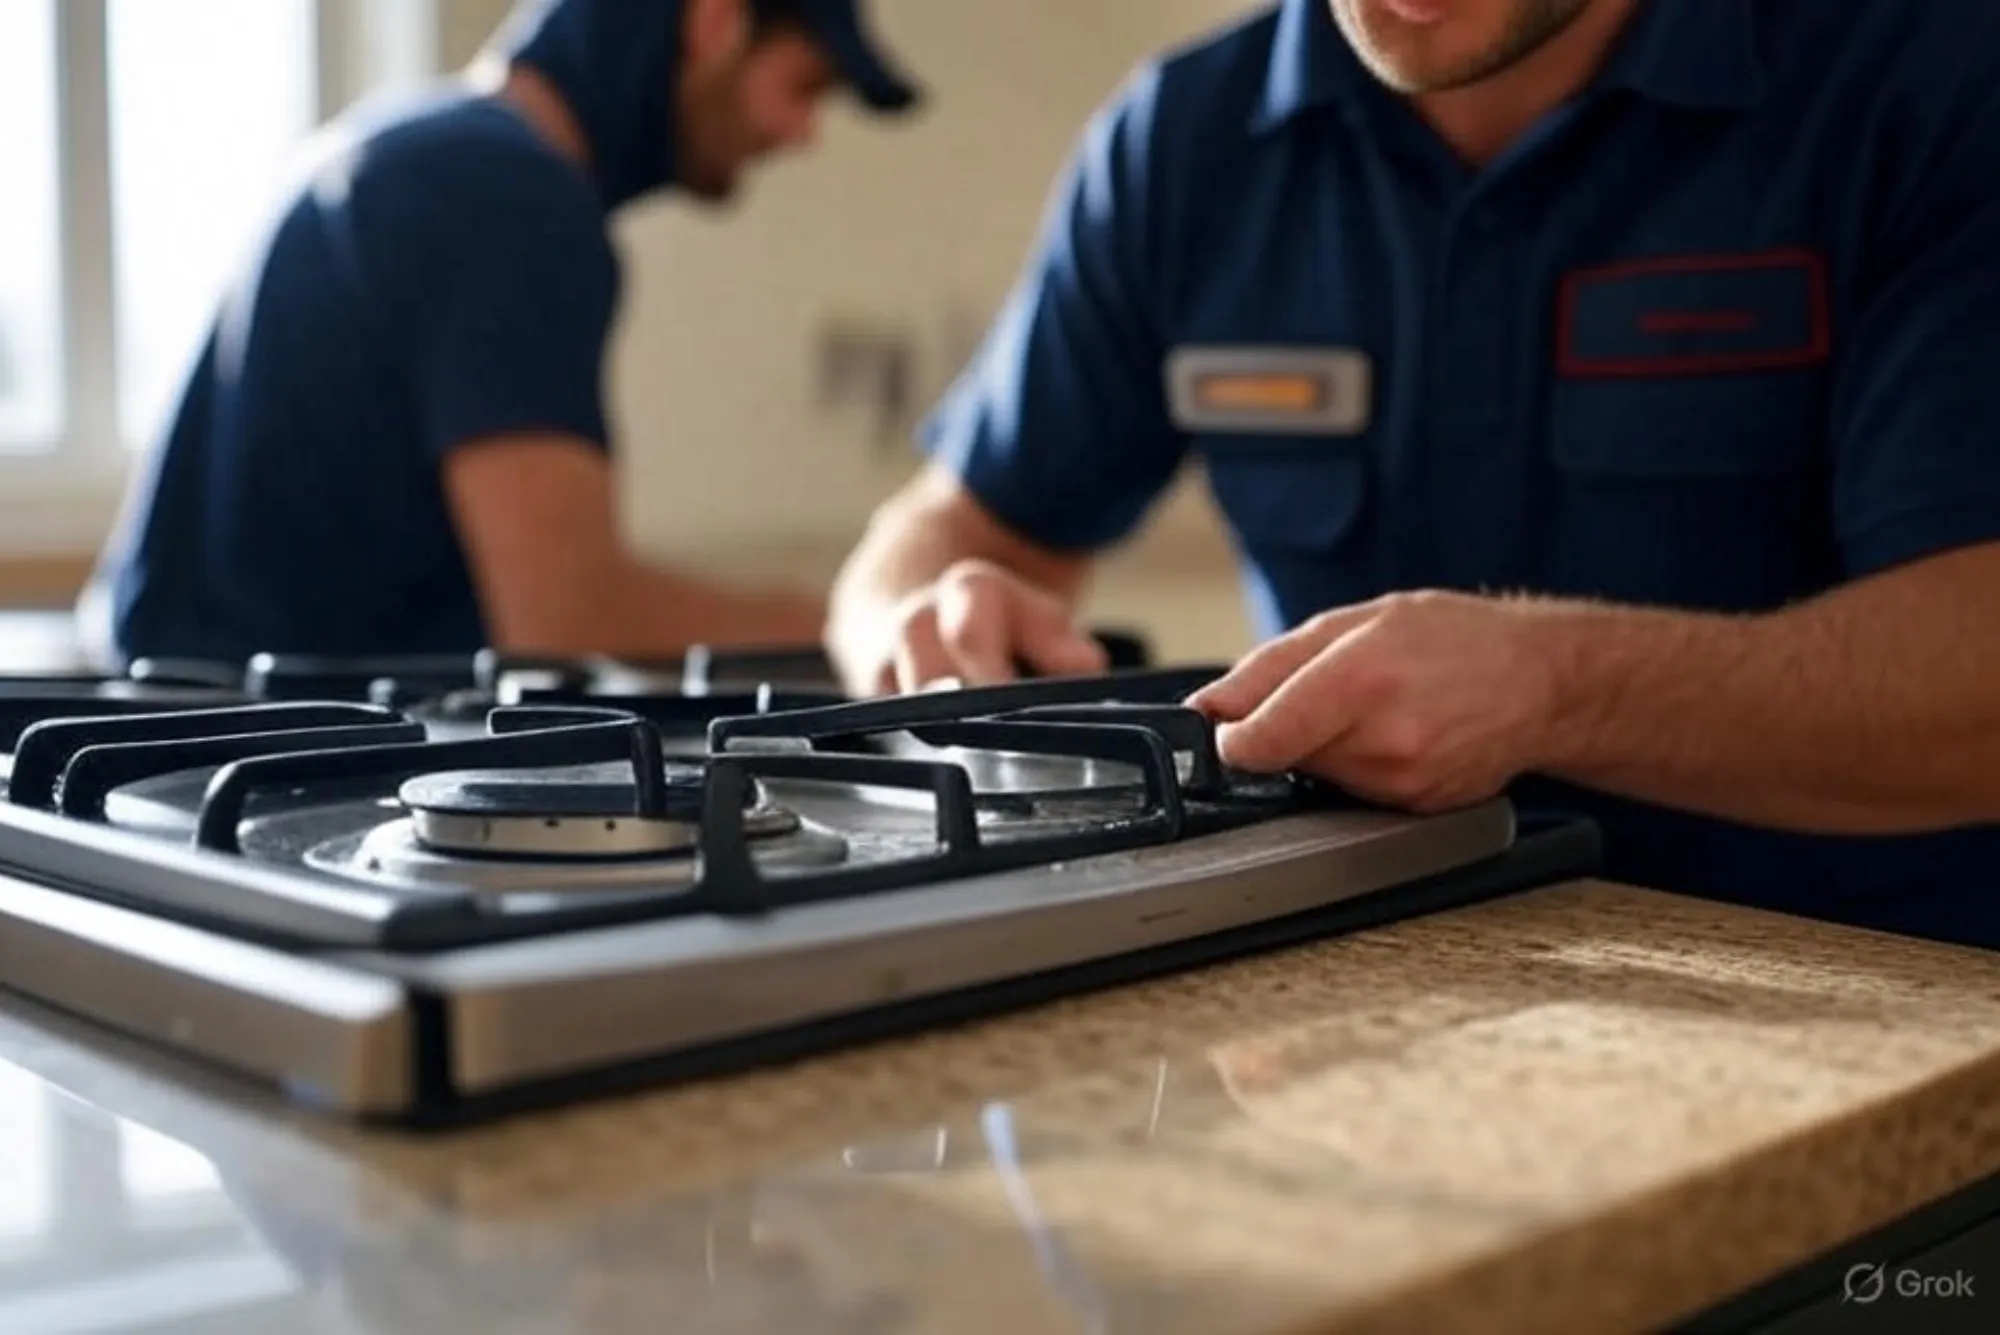
Preparing for Broil Element Replacement
Safety is the top priority before beginning any repair involving electrical components. Start by disconnecting the stove from its power source. If it is plugged into a wall outlet, unplug it. If it is hardwired, switch off the circuit breaker supplying power to the oven. Confirm that no electricity is flowing by attempting to turn on the oven after shutting it down.
Preparation also involves having the right tools and the correct replacement part. Typically, a screwdriver is required to remove the mounting screws, and possibly a pair of pliers to handle the connecting wires. It is essential to purchase a broil element that is designed specifically for your oven model. Using the model number of your stove, which can usually be found inside the oven door frame or on the back of the appliance, ensures you get the right fit.
Gathering all necessary items in advance avoids unnecessary delays and ensures a smooth process from start to finish.
Removing the Faulty Broil Element
Once the oven is disconnected from power and all tools are ready, the removal process can begin. Open the oven door fully to provide access to the broil element. In most designs, the element is mounted with screws or brackets at the back wall and sometimes supported at the front by clips.
Carefully remove the screws securing the element to the oven wall. Once these are loosened, gently pull the element forward. You will notice that two electrical wires are connected to the terminals at the rear of the element. Take care not to let the wires slip back into the oven’s insulation as this can make retrieval difficult. Many technicians recommend using needle-nose pliers to hold onto the wire ends while disconnecting them.
At this point, the old element can be completely removed from the oven cavity. If there are any signs of burnt wiring or damaged connectors, these should also be addressed before installing the new component.
Installing the New Broil Element
The installation process is essentially the reverse of removal but requires careful attention to connection security. Begin by attaching the electrical wires to the terminals of the new broil element. The fit should be snug, and no exposed metal should be visible once the wires are in place. Loose connections can lead to overheating, sparking, or further failure of the element.
Once the wires are properly connected, gently push the new element into position. Align the mounting holes with the screw holes in the oven wall and secure the element firmly. Ensure that the element is properly aligned and not touching any other part of the oven cavity, as improper placement can cause uneven heating or even damage.
After everything is secured, the oven door can be closed and the stove reconnected to power.
Testing the New Installation
With the replacement completed, the next step is to test the oven’s performance. Switch on the broil function and observe the new element. Within a minute or two, it should begin to glow bright red evenly across its surface. This confirms that electricity is flowing correctly and that the installation was successful.
Allow the oven to run on the broil setting for several minutes to ensure stable operation. During this time, check for any unusual smells or sounds. A slight odor is normal when new elements heat for the first time, as manufacturing residues burn off, but this should fade quickly.
If the element glows evenly and no sparks or issues arise, the replacement is complete and the oven is ready for normal use.
Safety Considerations During the Process
Replacing a broil element is a straightforward repair, but it does involve working with electrical components. The most critical safety step is disconnecting the oven from power before beginning. Skipping this step risks serious electrical shock. It is also important to avoid touching the element terminals with bare hands during installation. Using insulated tools ensures greater safety.
If at any point the wiring looks damaged or unfamiliar, it is best to consult a professional technician. Attempting to patch frayed wires or force incompatible parts can lead to greater damage and even fire hazards. Always prioritize safety over saving time.
Maintaining the Broil Element After Replacement
Once a new broil element is installed, proper maintenance can extend its lifespan. Regular cleaning of the oven prevents grease and food particles from building up on the element, which can cause hot spots and shorten its life. Always allow the element to cool fully before cleaning, and avoid using harsh chemicals that may corrode the metal.
Additionally, avoid placing food too close to the broil element. Contact with moist or greasy food can damage the coil. Using appropriate cookware designed for broiling not only protects the element but also improves cooking results.
By practicing simple maintenance habits, the new element can serve reliably for many years.
When to Call a Professional
While most homeowners can handle replacing a broil element on their own, there are situations when professional help is necessary. If the oven fails to work even after the new element is installed, the issue may lie with the control board, thermostat, or wiring. In such cases, diagnosing and repairing the problem requires specialized knowledge and tools.
Similarly, if the oven is a built-in model connected directly to household wiring, handling the disconnection may not be straightforward. In these cases, calling a certified appliance technician ensures the work is done safely and correctly.
Final Thoughts on Replacing a Broil Element
The broil element is a vital part of any electric stove, and when it fails, cooking efficiency is immediately affected. Fortunately, replacing this component is a manageable repair for most households. With the right preparation, proper safety measures, and careful installation, a new broil element can be installed in less than an hour.
Understanding the signs of failure, ensuring compatibility of replacement parts, and maintaining the oven after repair all contribute to long-term reliability. By following these steps, you can restore your oven’s broiling power and continue creating perfectly finished dishes without the need for costly service calls.
Replacing a broil element not only saves money but also empowers homeowners to take control of their kitchen appliances. Whether you are an experienced DIY enthusiast or tackling this repair for the first time, the process is approachable and rewarding when done correctly.